Blog

On DJing, music, productivity, professional growth, and personal journey

Later Ctrl + ↑

The redline: decibels explained

cover black

I’m quite confused with the volume meter indicators on DJ mixers. Is it allowed to go over 0db? What is the recommended volume level? Why there are plenty of DJs pushing it hard above the redline?

Thomas

Thomas, to answer this question we have to understand what the “red line” and its corresponding numbers actually mean. For instance, does number 10 next to the red LED means overall loudness or what? Such things can be confusing even not among amateurs. Let’s go a little bit deeper into the physical properties of the sound and its perception by human ears.

What is sound

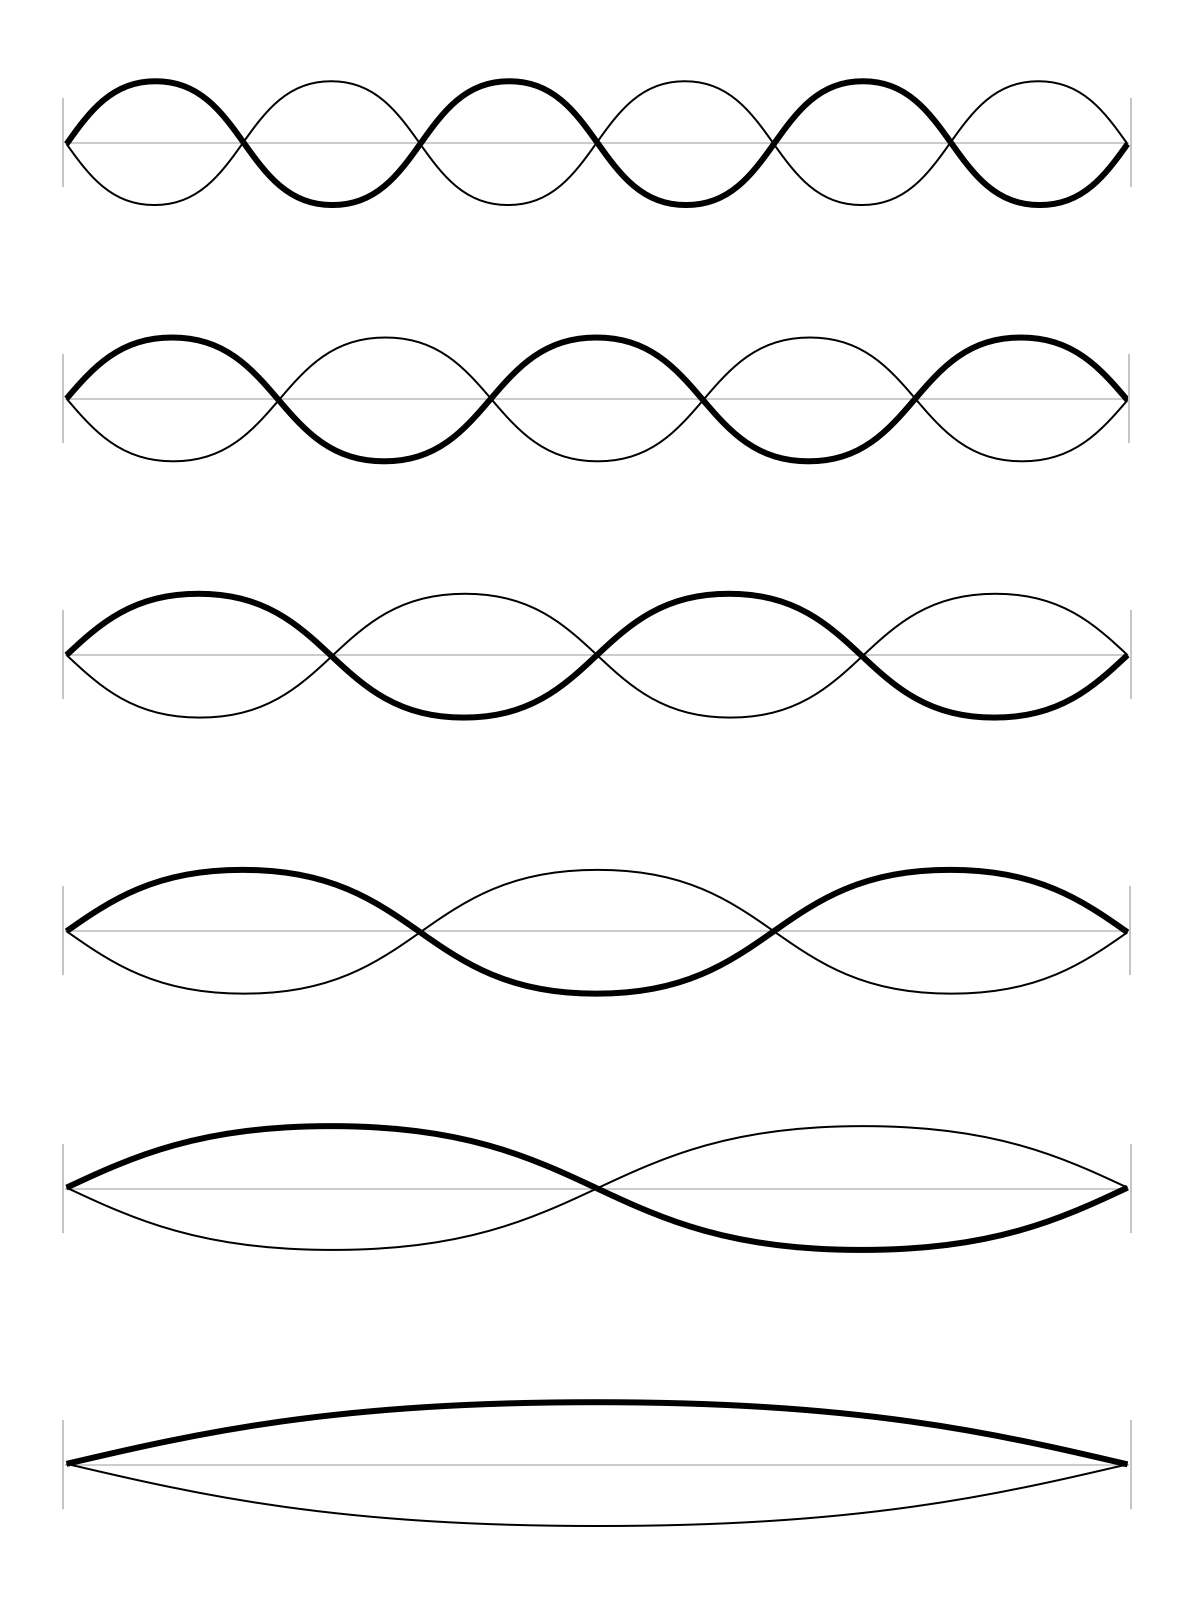
One of the properties of sound, the amplitude, we perceive as loudness. And while most measurements are linear, our ears perceive loudness logarithmically, i.e. by the ratio between two signals. To reflect changes in the volume close to its human perception, we’ve got a unit called decibel (dB). But the decibels are tricky, as basically it’s nothing but a ratio — it only says how loud one sound is relative to another.

There are two ways to express loudness in decibels: by so-called “dB Gain” and “dB Level”.

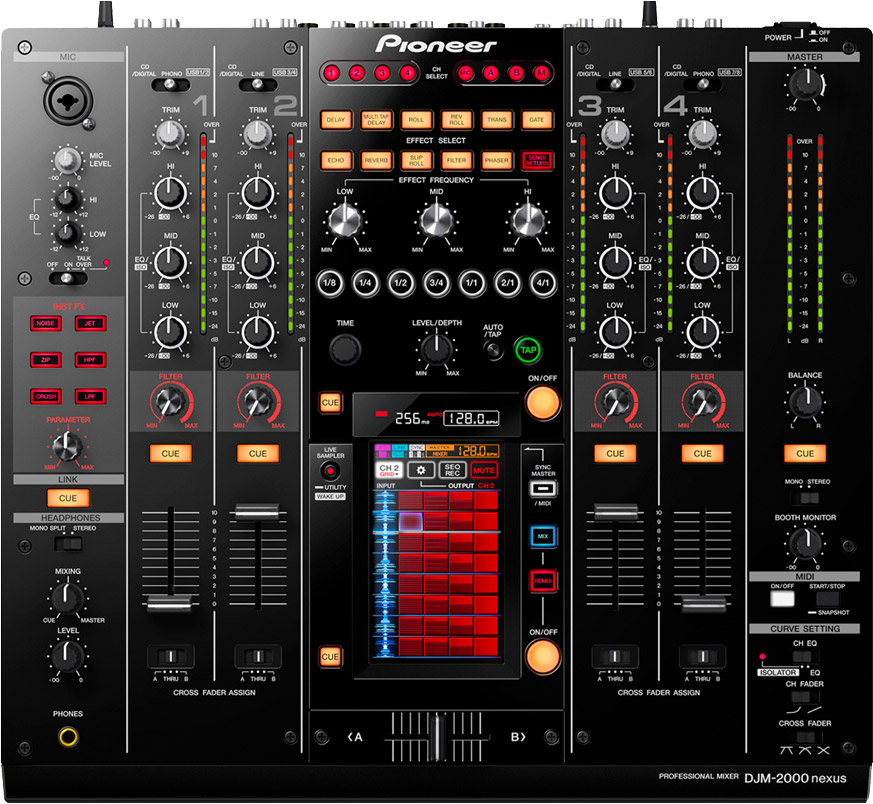
“Gain” is the ratio between the sound and its different volume levels. For instance, the fader in a typical DAW mixer is an example of dB Gain. Putting it on -6dB will make the sound by 6 decibels less than it was originally recorded. The “Trim” knob on top of each Pioneer’s mixers channel is a Gain too.

“Level” is the ratio between the level of the sound relative to some reference level. Several standard reference levels are used to measure the ratio in those particular scales. Now I’ll talk only about two of these scales (there are more, but they are not related to the subject). Here they are:

Sound form Decibel scale Reference level
Electrical sound waves dBu +4 dBu
Standard operating level for professional audio
Digital sound waves dBfs 0 dBFS
Maximum operating level in the digital systems

The physical form of the sound in professional analogue equipment comes as an electrical sound wave (voltage) and uses a scale known as “dBu”. In this particular scale, +4 dBu is the highest average level that a steady audio signal can have, excluding transient peaks.

Audio signal above the reference level (+4 dBu) gradually becomes more distorted, that’s why momentary peaks can be allowed to exceed. The difference in levels between the steady audio signal and the peaks is known as “headroom”. Professional-grade analogue equipment can output maximum levels of +26 dBu, which gives us 22 decibels of headroom.

Setting Sound System Level Controls by Dennis Bohn, Rane Corporation, 1997

Digital sound waves use a scale known as “dBfs”, where “fs” stands for full scale. As mentioned above, 0dBfs is the maximum operating level on this particular scale.

Unlike analogue audio, digital audio doesn’t have such thing as a maximum average level, hence why 0 dBfs is the average and the peak levels at the same time. Even average levels can be increased up to 0 dB without distortion; however, anything above instantly becomes distorted as the information gets literally lost. That means that steady audio signals can be recorded at a higher average level in digital systems than they could be in analogue systems. For instance, 0 dBfs could be equivalent to an analogue level of +24 dBu and still sound clean, while the average level in the analogue system will be very distorted.

Now comes the most tricky part. Volume meter on DJ mixers reflects directly neither dBu, nor dBfs scales, which means 0dB VU (volume unit) on a DJ mixer doesn’t necessarily equal 0dBu output.

When converting between digital and analogue systems, these correlation levels must be calibrated, and they can be calibrated differently. A pretty common calibration that is used in digital mixers is the following: -20 dBfs = +4 dBu = 0 dB VU. But the correlation (in other words, the headroom) varies from one piece of gear to another. To give an example:

Calibration: -20 dBfs = +4dBu Calibration: -12 dBfs = +4dBu
0 dBfs = +24 dBu 0 dBfs = +14 dBu
-10 dBfs = +10 dBu -10 dBfs = +8 dBu
-20 dBfs = +4 dBu -14 dBfs = +4 dBu
-30 dBfs = -6 dBu -20 dBfs = -2 dBu

As you can see, it is really hard to say the exact correlation between dBfs and dBu, even the same model can be calibrated a little bit differently. This said, 0dB on the mixer volume meter can mean pretty much anything unless you know this particular device’s specs and calibration settings.

For instance, the Pioneer DJM-900 Nexus mixer has 19 dB of headroom (above the zero mark), allowing for that much volume jump before you hit the clip level. This is a sort of foolproof protection; otherwise, we would experience hard clipping even at the very first yellow LED indicator.

Let’s see what some vendors say about the volume control of their products:

Pioneer: “If you experienced distorted sound, adjust the Master Level control so that the master channel level indicator lights at around 0dB at the peak level. ”

Pioneer DJM-900 Nexus Operating Instructions by Pioneer Electronics, 2010

Rane: “Follow the golden rule and keep your level meters out of the red. Think of a level meter as a traffic light. Green means you’re ok to proceed, yellow means caution and red means stop. When level meters hit red, you run the risk of clipping or simply distorting the heck out of the audio. In case you’re wondering, both sound terrible.”

How-to properly set Rane mixer level controls, Rane Knowledge Base

Allen & Heath: “The main meters follow the selected monitor source. The meter reads ‘0’ for an XLR output of +4dBu. The mixer should be operated with these meters averaging around 0dB with loudest peaks no higher than +6dB”.

Allen & Heath Xone DB4 User Guide, Allen & Heath Limited, 2010

So, let’s recap: yes, it is possible to go over 0dB on some DJ mixers without having distortion. However, it is not recommended to go up to the red line as it may cause hard clipping — even vendors recommend sticking around the green zone, with momentary peaks into the yellow, for a reason.

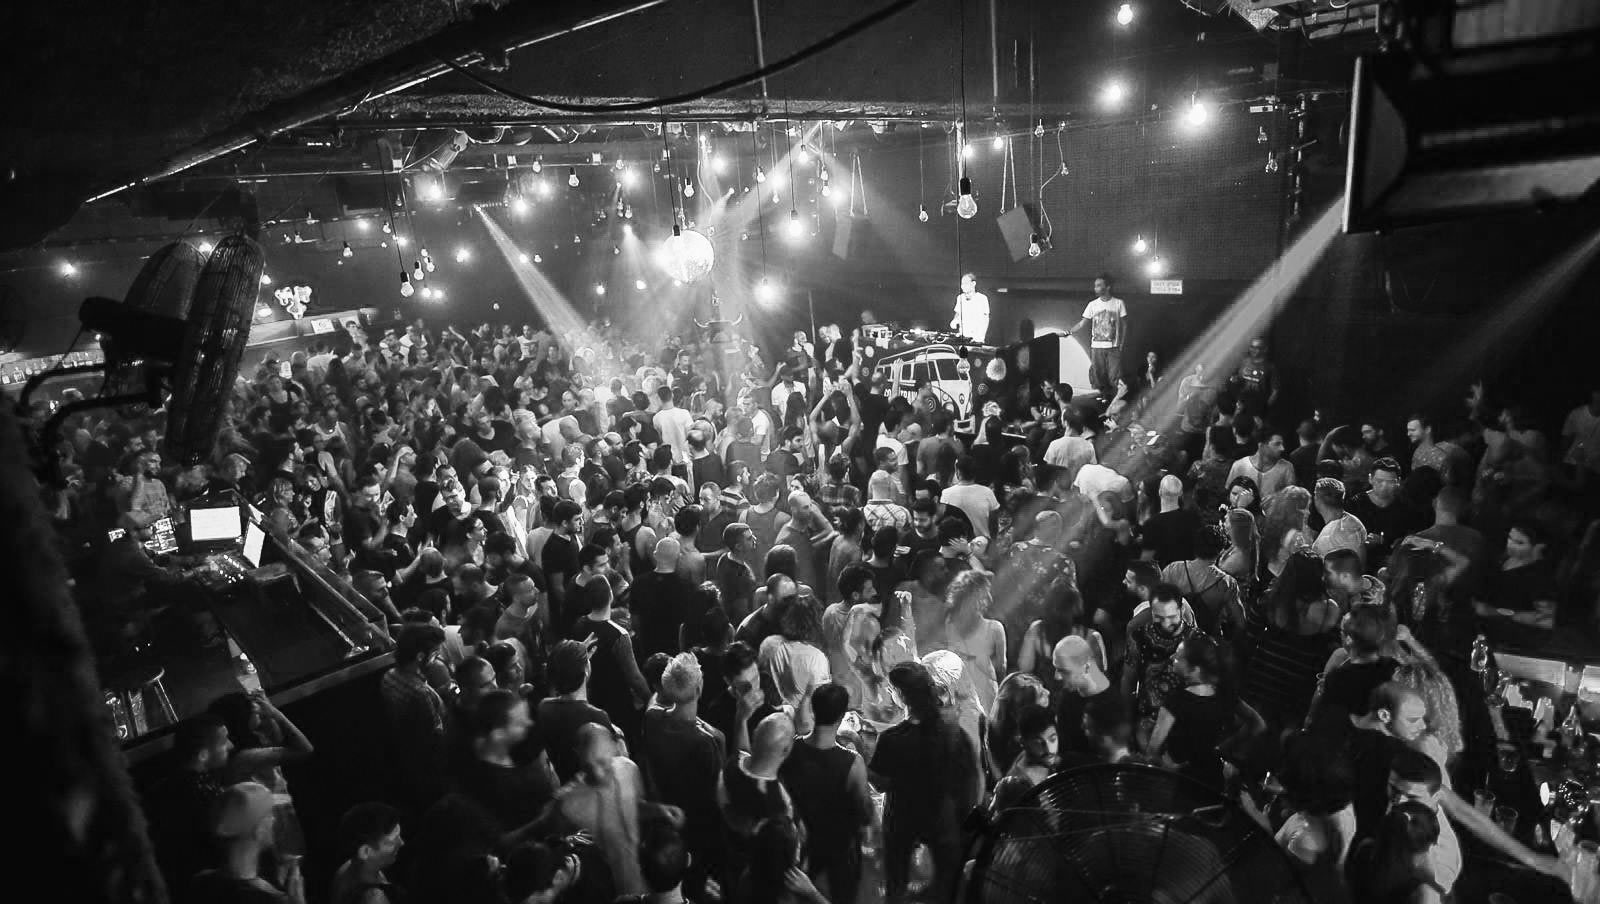
Keep in mind that most venues use compressors or limiters in order to protect their expensive PA systems, so pushing gain all way up will not make the sound louder but rather make it over-distorted.

If you really feel that the overall sound is not loud enough, find the sound guy, and ask him to boost the volume up on the PA instead. This way you could stay in the safe zone while overall sound will be loud and clean.

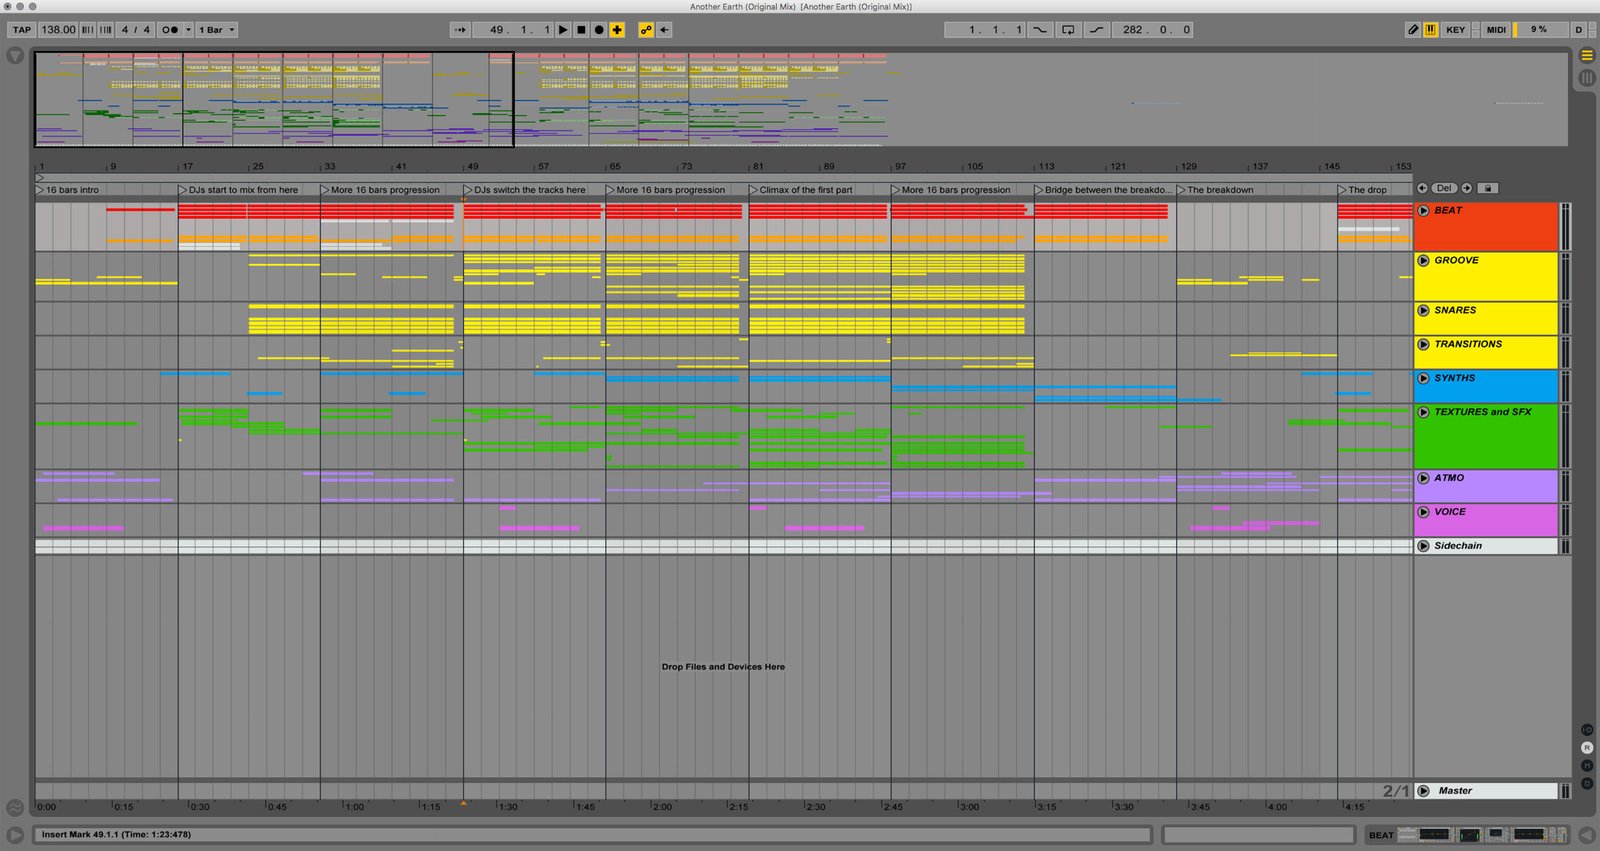
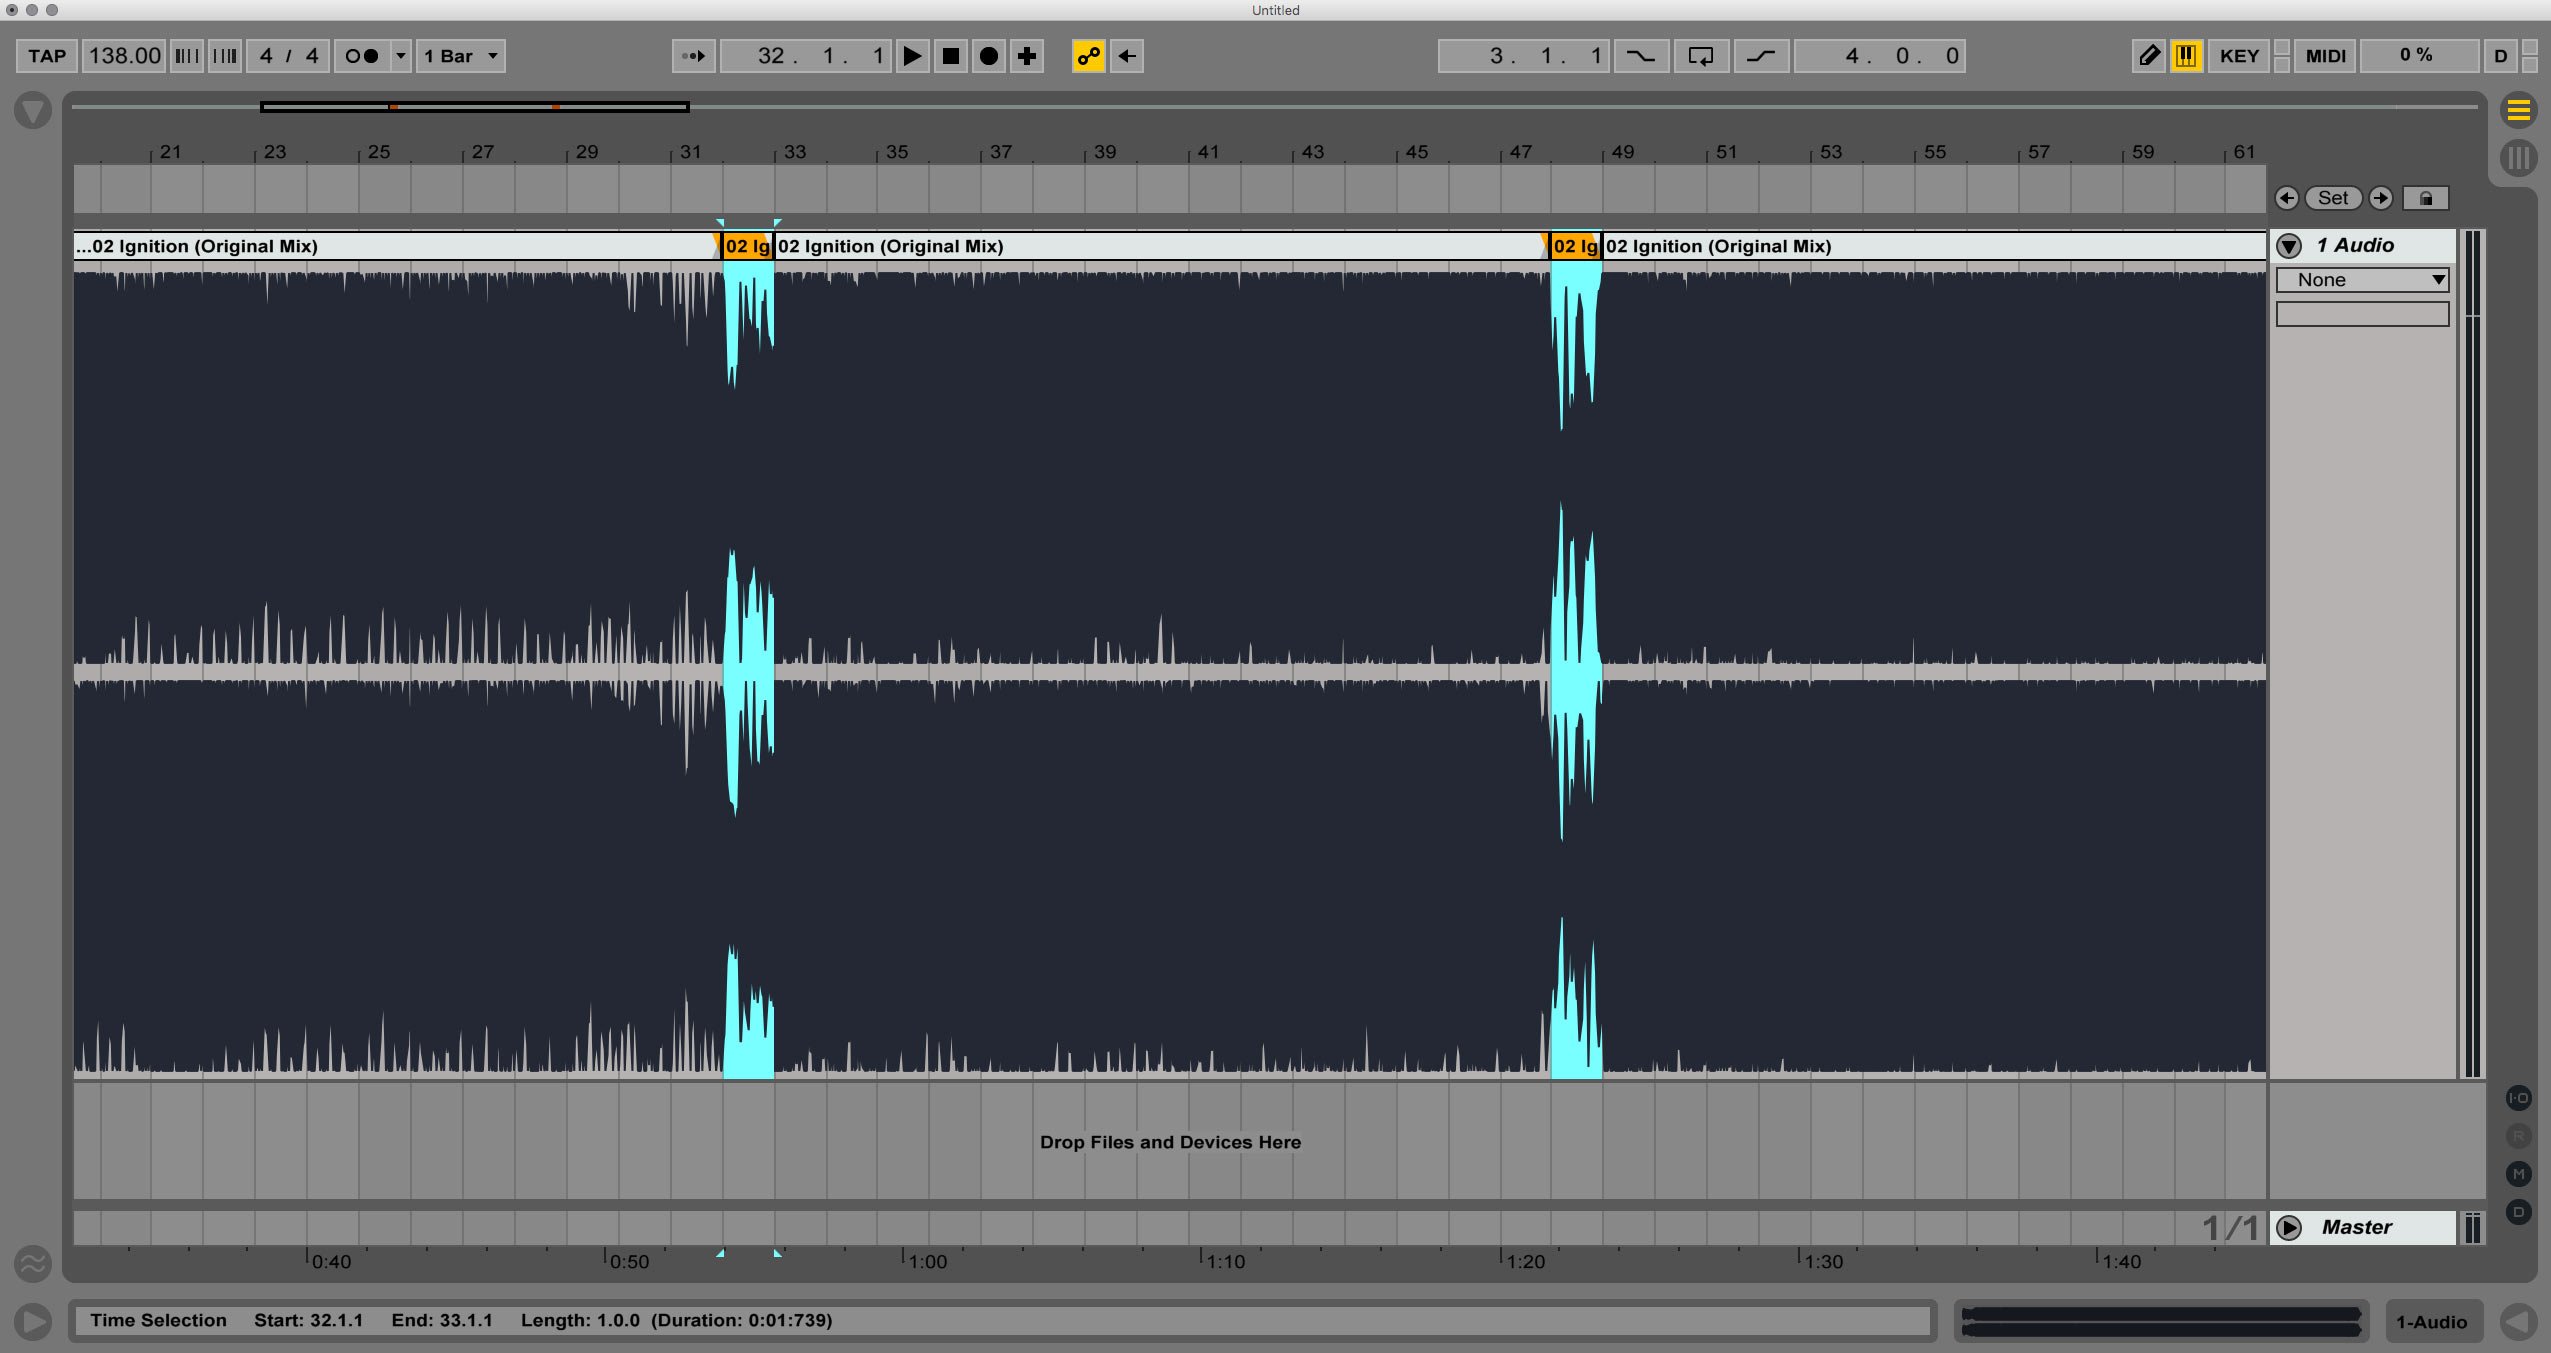
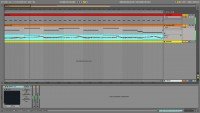
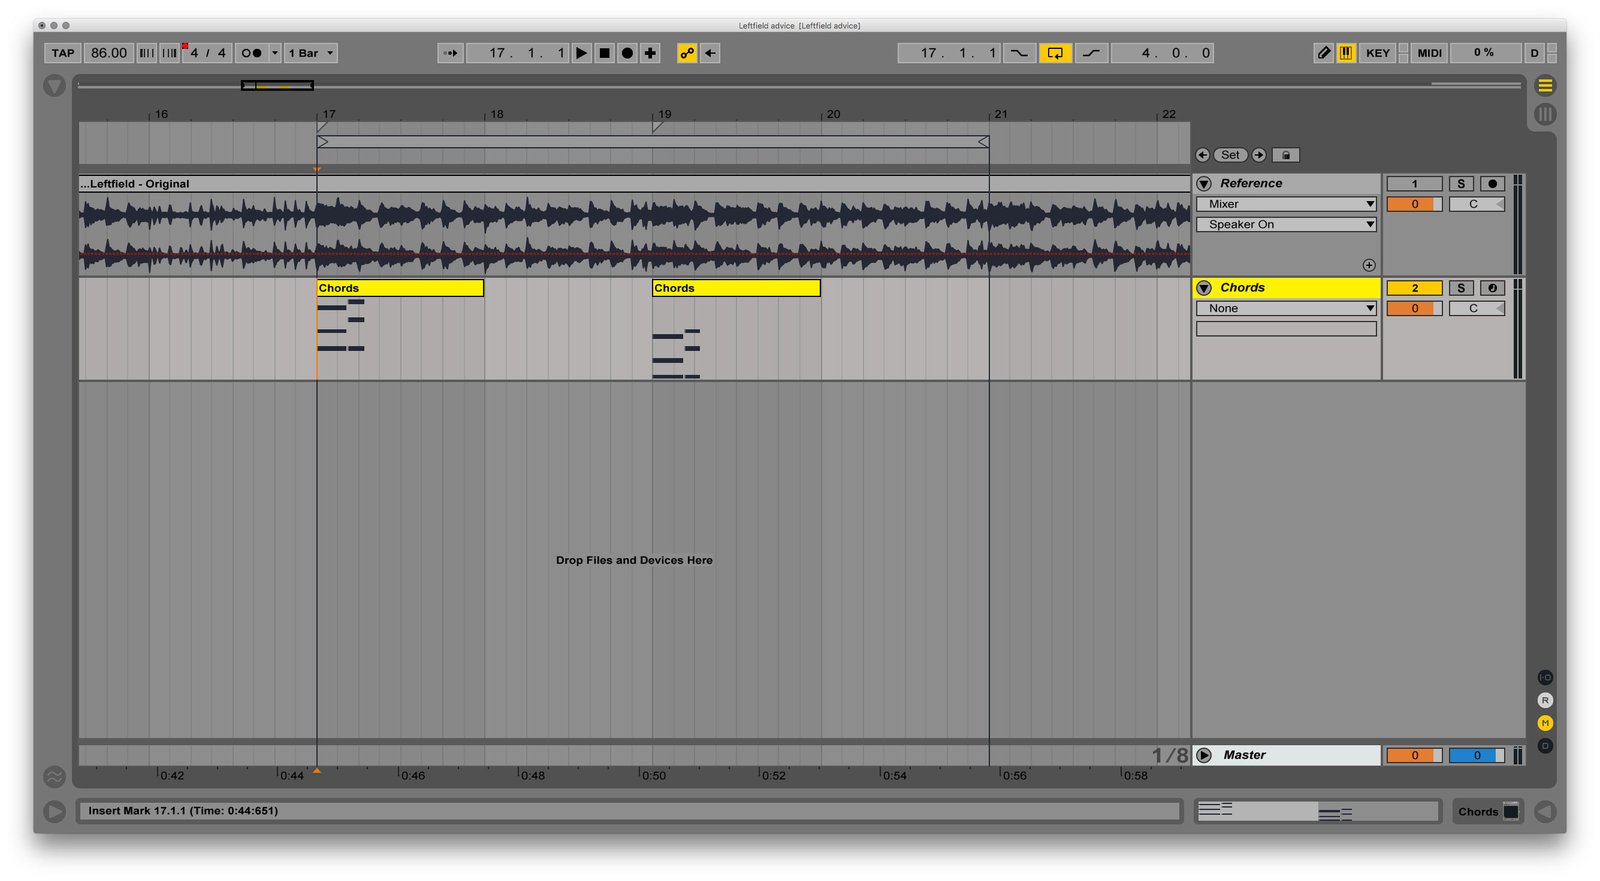
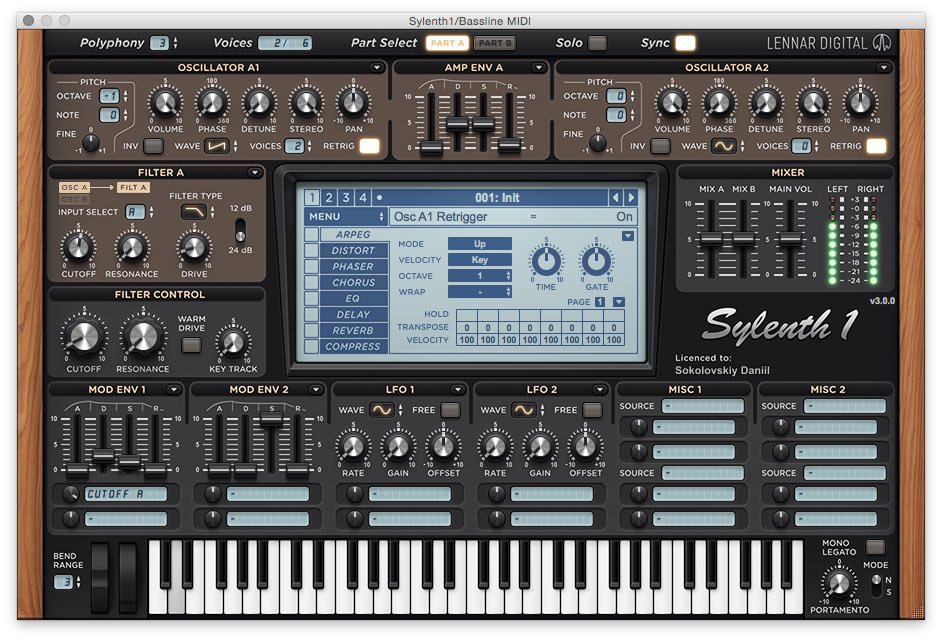
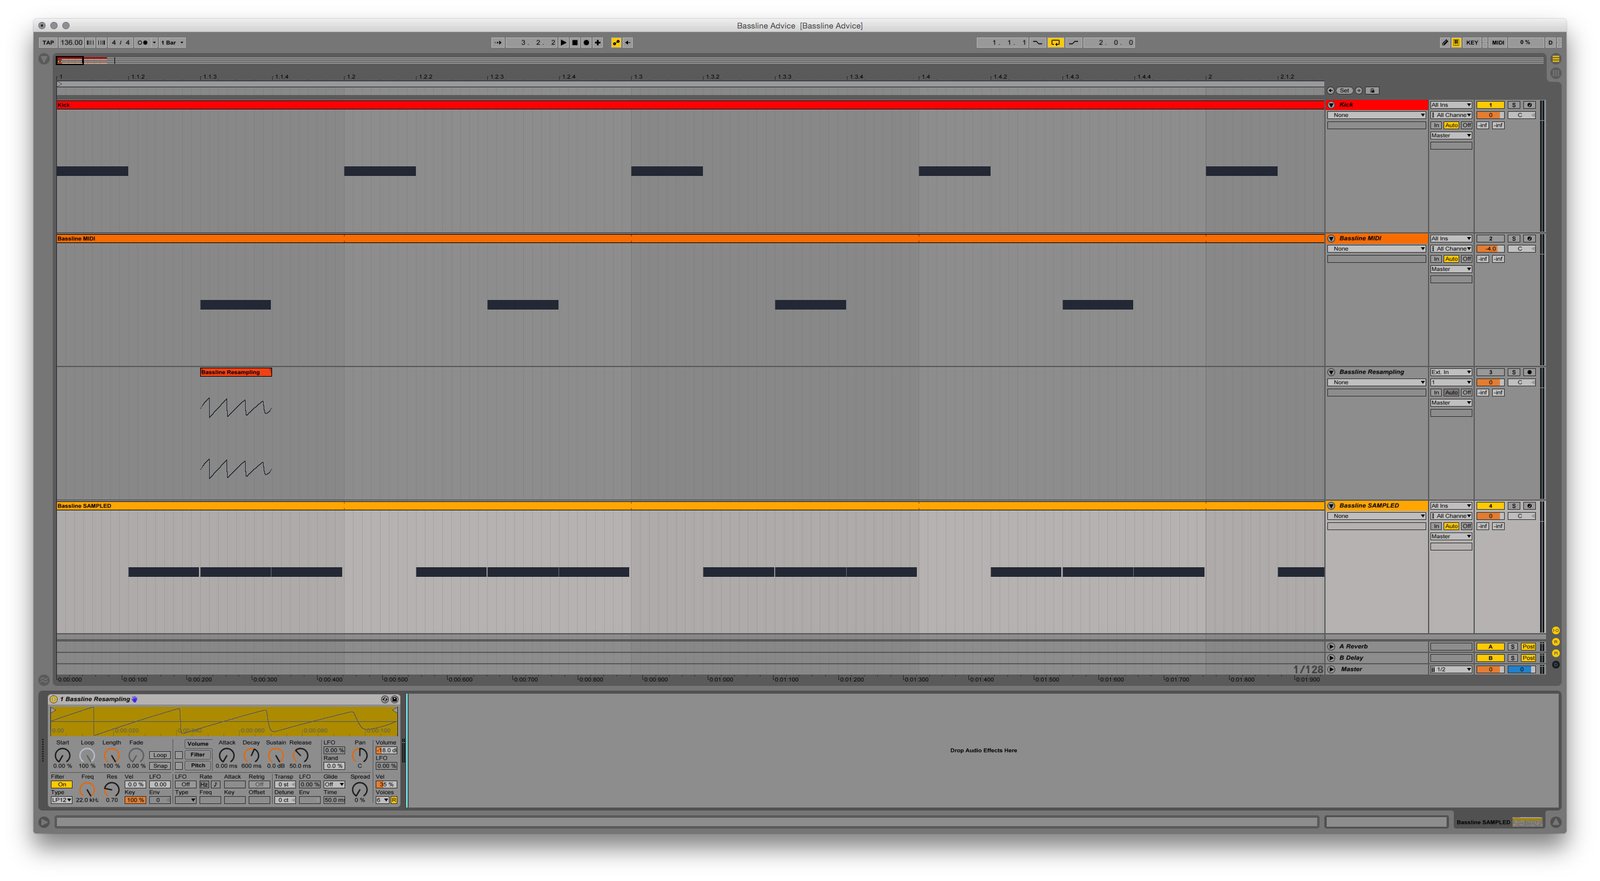
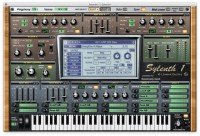
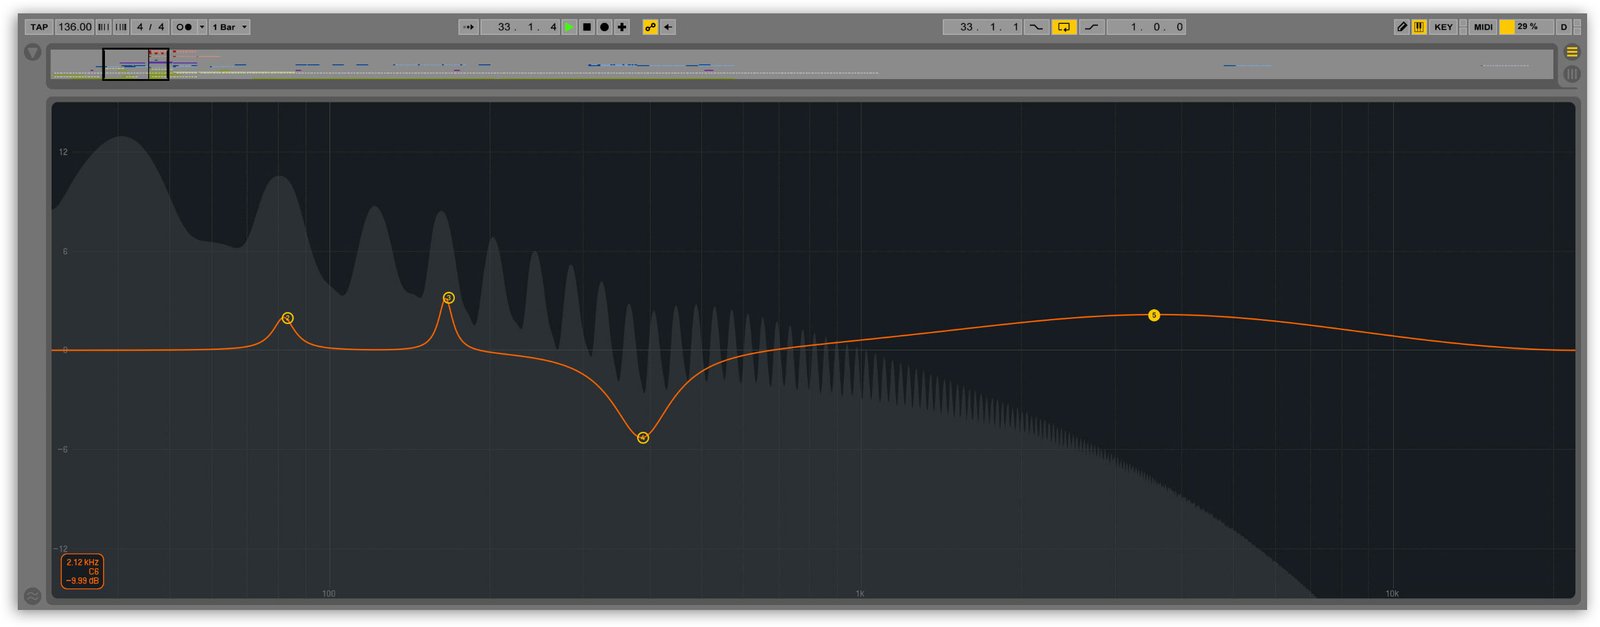
A special side note for Ableton users, those who play live using Ableton like myself. We know that going above 0dB in digital audio literally kills the sound, so it is important to understand that all your efforts to stay in the green zone on the DJ mixer will be meaningless if audio that comes from Ableton already has clipped.

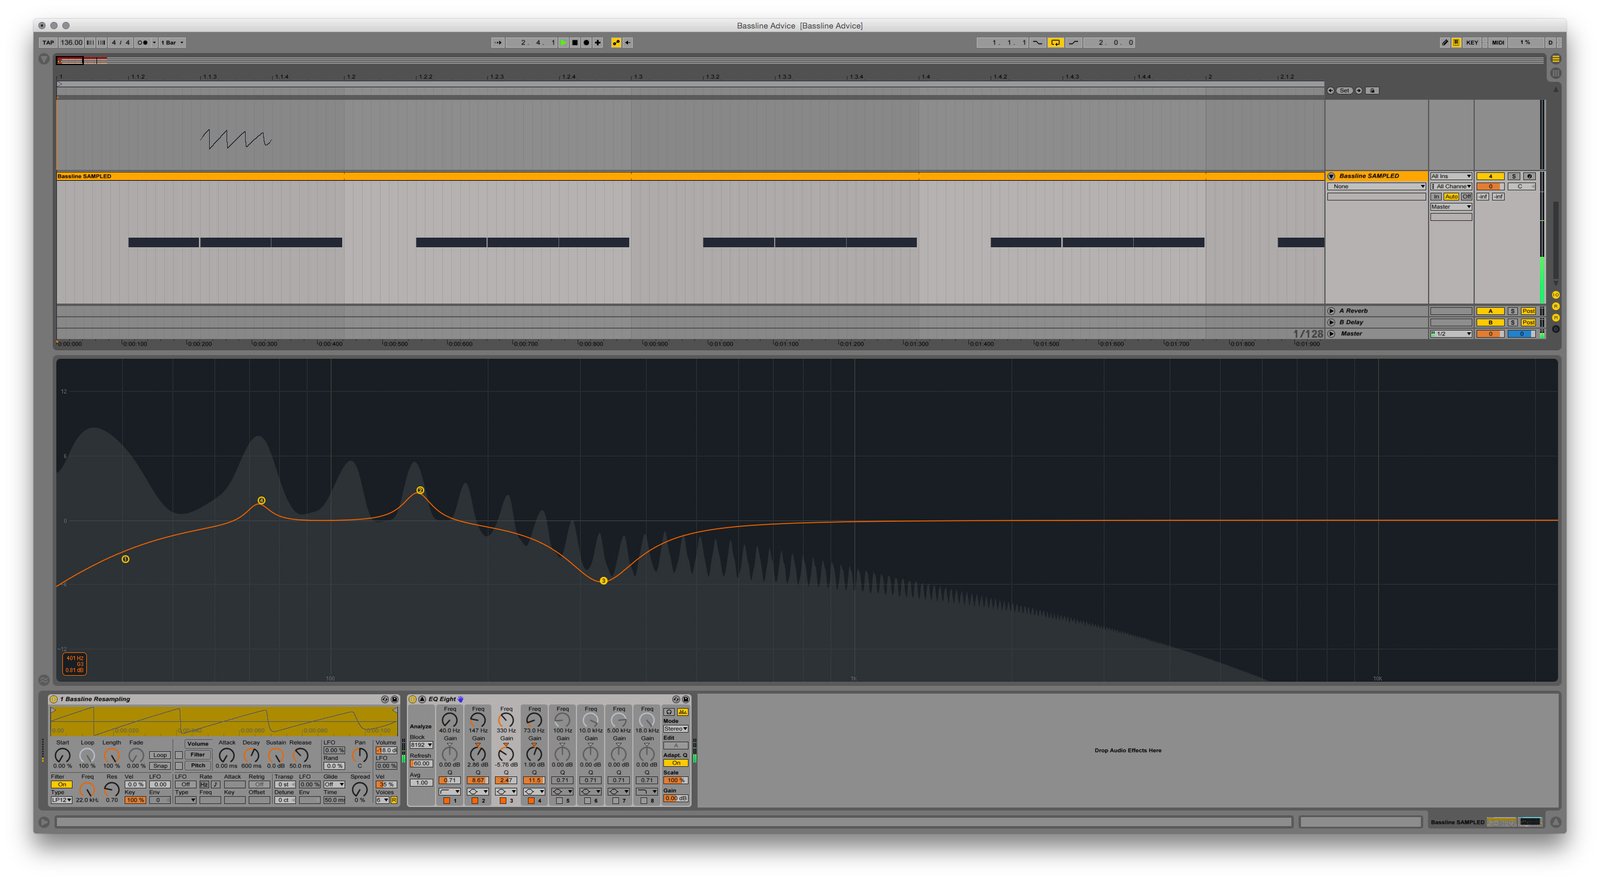
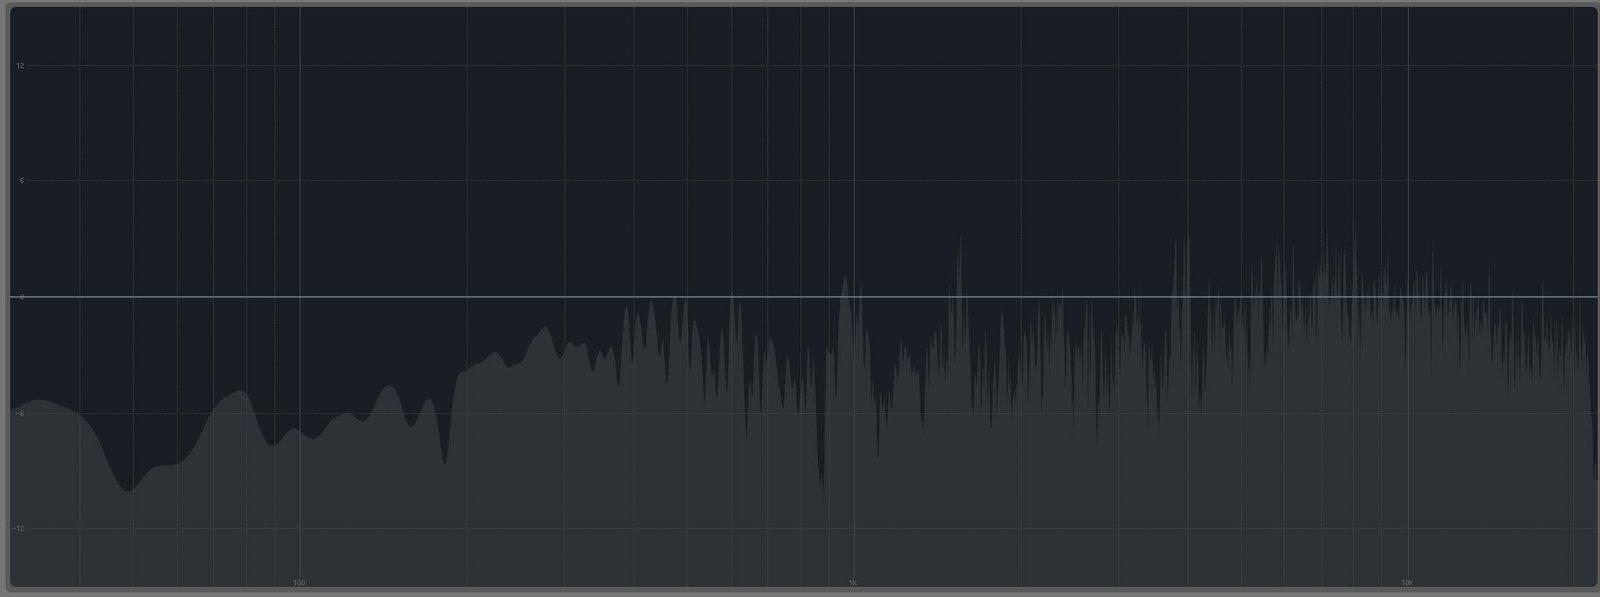
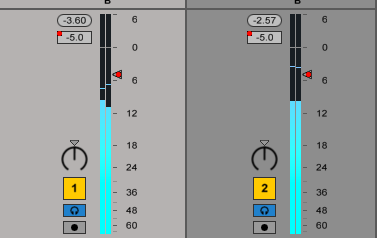
If faders on your Ableton mixer are set to 0dB, and you put some audio effect device on top of this channel, like EQ, it is natural that sound will go over zero decibels, hence clipping. To prevent this, I advise setting a maximum value for Ableton faders at -5 or -6dB. Even if you put MIDI-controller fader to its top position, in Ableton, it will still be capped at -6dB, and thus you’ll get an extra 5-6 dB of “headroom”.

The same applies to any other software, make sure to adjust volume control within the program before checking and tweaking volume meters on a DJ mixer.

As for your last question Thomas, I guess there is a common misunderstanding among many DJs, so I hope this advice will shed some light.

On cover image: Pioneer DJM-2000 Nexus.

 1 comment    9455   2015   Advice   DJing

Vand Sunete review of As The Horizon Comes Closer

Vând Sunete focuses on track recommendations and features everything from new releases to genre classics. This time he reviewed As The Horizon Comes Closer, a new single from You Are My Salvation that features Daniel’s remix.

The research and development phase of a product takes a fair bit of time, but the end result is all the more polished because of it. Such is the case with the latest offering from the underground labs of Dopping and Ruddick-led imprint Research & Development Records, which welcomes aboard Swedish producer You Are My Salvation. Let’s take a closer look at what’s inside.

Original Mix

At the beginning of the decade, I was transitioning from a generally prog-house leaning playlist to a more trance oriented soundtrack. Although it’s a sentiment that still manifests itself today, nothing can beat those awe-filled moments of discovery that ensued. In many ways, As The Horizon Comes Closer served as a nice reminder of those exact moments.

You could pick out the superb melodic atmosphere in the break and turn that into a very satisfying ambient piece, but YAMS went a little further. Wrapping the melody around a deep progressive arrangement, the Swede managed to extend the experience in a smooth fusion of electronic music styles. Truth be told, this original vision does not require any accompanying words, but I had to convey my appreciation somehow. Plus, it would look weird if I didn’t include any text, now wouldn’t it?

If this isn’t quite your thing, perhaps I might interest you in some remixes?

Will Rees & Alan Ruddick Remix

The first of the reshuffles steps out into the wider electronic music landscape, as Will Rees and label boss Alan Ruddick come together to create a noteworthy slab of melodic techno.

The snare is much more pronounced in the first half, which might make you think a transition into breaks is imminent, however, hold on. Your patience is rewarded as the thumping bass and kick combo not only secures the track’s place in the techno spectrum but gets you off the chair, whether you want it or not. For listeners not so easily convinced, the original melody riding on top should be as good an impulse to get up as any. A distinctively addictive reshuffle, whichever way you slice it.

Daniel Lesden Remix

The second on remix duties is Daniel Lesden, a name that should be familiar. Remember when back in August YAMS remixed Daniel and Cosmithex’s Genesis? Well, this time the roles are reversed.

The mysterious distant sounds in the break serve as mere teasers, prepping the listener for the inherently infectious drive of Daniel’s psy rework. Framed by the precisely placed vocal chops, the tweaked melody makes an eventual entrance, providing all the necessary elements for the oh-so-good goosebumps to occur. A beautiful example of creatively constructed psy that stays true to the original material, while giving off its own unique vibe.

A beautiful example of creatively constructed psy that stays true to the original material, while giving off its own unique vibe.

As The Horizon Comes Closer, so does the release date for the EP, with this triple track offering hitting Beatport this Monday, October 26th. If you prefer other portals, November 9th is the date to mark in your calendar.

Link to the original post
Text — Florin Bodnărescu

3 ways to make a kick drum

cover transparent black

I’m struggled to find proper kick drums for my productions. Should I make my own? If so, how?

Chris

Chris, there are two ways to get a kick drum: buy ready-to-use royalty free sample packs or make your own sounds. Here are some popular samples manufacturers if you’d go the first way: Freshly Squeezed, Function Loops, Loopmasters, Vengeance, Zenhiser.

And although there is nothing wrong with using such samples, I’d still recommend making your own sounds, at least for several reasons: it gives you an understanding of how things work, you can get unique sound tailored for your needs and each kick you’ve made boost your experience as a producer. Also, it’s cheaper, and so much fun after all.

Formally speaking, a kick drum is nothing but a Sine wave with Pitch modulation. There are three main ways to synthesize your own kick drum, and I’ll cover all of these.

Making a kick drum in an audio editor

This is kind of old-school method and I don’t think anyone still uses it. At the same time, it’s a very simple method hence gives a clear understanding of the process. By ‘audio editor’ I don’t mean a DAW, this type of programs are different: Sound Forge and Audacity for example. I gonna use Audacity in this case.

Audacity app
Free, cross-platform

As being mentioned above, basically, kick drum is a Sine wave. So in Audacity, go to Generate → Tone, then choose Sine waveform, and set Frequency at some low volume, I would say from 30 to 60 Hertz.

We’ve got a pure Sine tone. Select second half of the audio and go to Effect → Fade Out to shape the form a bit. Now select the first few milliseconds, go to Effect → Sliding Time Scale/Pitch Shift, and play around with these parameters. The initial pitch should be always higher than destination pitch, so it goes downwards.

Pretty much, that’s it — we’ve got a low kick drum. You can make more aggressive Attack, or Transient of the sound, it’s up to tastes and needs. I don’t want to stay longer on this as I’m sure you won’t use this method, so let’s move forward.

Making a kick drum in synthesizer

NI Massive is one of my favourite synths for making a kick drum because of its flexible modulation. But this method works just fine in many other synthesizers as well.

Read also:
Recommended synths

A little remark regarding Massive. Basically, Envelope number 4 is mapped to modulate Amplitude, but the problem is even with zero amount of Attack and Release parameters, envelope still has some ramp up and ramp down (highlighted on the picture below). It’s not an issue for most type of sounds, but with kick drums, these tiny milliseconds are very important. As a result, you’ll hear these unnecessary clicks rather than pure tone:

Here is the solution. First things off, Mute amplitude modulation by right-clicking at that number 4 in a square — it will disable envelopes effect on amplitude. Then go to oscillator settings (“OSC” tab in the modulations section), and turn on that tiny Restart via Gate thing. It restarts the phase via Midi gate and helps to get rid of the initial click.

To deal with the click in the end, here comes another trick. Go to LFO section and change its mode to Performer. Then draw a curve that goes from zero to maximum within a short amount of time, and map this to negatively modulate Oscillator envelope. So, basically, it will just turn off the volume of our sound source before that nasty click happens. Finally, we’ve got a clean Sine wave:

That’s all been a sort of preparation. Now comes the best part — Pitch modulation, to actually get a kick drum sound. First things off, increase initial oscillator pitch up to 64, as we need to go it downwards. Then map both Envelopes 1 and 2 to modulate pitch, and turn its amount to few octaves down. Then just play around with Envelopes, Decay in most, to get kick type that you want.

Here are some variations I’ve quickly made:

Making a kick in drum synthesizer plugins

There are several synthesizers, designed specifically for the kick drum synthesis: BazzISM and Kick to name a few. This is probably the easiest and most efficient way to achieve a very precise sound that fit your needs. Although, basic principles are all the same: it’s still a single Sine wave with modulation. This particular type of synthesizers is just focused on this and only one purpose.

Kick by Sonic Academy.
$40, VST/AU

These plugins are pretty straightforward, just move around a pitch, length, shape, and tweak other parameters, and here we go — a solid kick drum without the need of manual modulation mapping, like in Massive, for instance.

Kick plugin by Sonic Academy

Afterwords

These are the three ways of making kick drums, but keep in mind there are still quite a lot of things could be done for the usage in final productions: equalization, layering, compressing, and other sorts of polishing.

Good luck with your kicks!

 3 comments    13872   2015   Advice   Kick and bass   Sound design

Setting up a podcast on iTunes

cover black

I’m starting my radio show next month I am thinking to make a podcast for it as well on iTunes. After many tutorials and articles, I failed to know how to connect my podcast to iTunes. Can you help me and guide me on how to do so?

Brad Ashtar

Apple has written a guide called Making a Podcast. Although it is very detailed and specific, I think it doesn’t give enough understanding of how things work in a simple way. So I’ll try to explain things easier and share my experience on how to avoid stumbling blocks.

First things off, iTunes is nothing but a distributor, the platform to deliver your content to end-users. It means you have to produce and host content by yourself. Assuming you already have a content to deliver, getting web hosting is the first step. You need to have some web space, so you could upload your files and get direct links to it, for instance, www.yourdomain.com/episode001.mp3.

When I started a podcast, basically I thought that file-sharing service like Dropbox can handle it. I thought, it’s easier to upload files this way, and it generates direct file links, thus I don’t need web hosting at all, right? But soon later I figured out that such services have very small bandwidth daily limits, even with paid plans. Here comes the first advice: don’t rely on file-sharing services, get proper web hosting instead.

Requirements for web hosting are quite simple: it has to have enough disk space for your files (I would say, 5 GB is enough if you just getting started), and most important, it has to have large bandwidth, otherwise, you will be billed for extra traffic usage. Don’t fall into a trap of “unlimited bandwidth” that some web hosting companies offer on cheapest plans — most likely, it’s nothing but a marketing trick. So make sure to dig deeper intro hosting plan specifications.

Once you get hosting, it’s time to upload your media files. Apple supports the following file formats: M4A, MP3, MOV, MP4, M4V, PDF, and EPUB file formats. MP3 seems to be the most popular audio format, although, I very recommend to use M4A instead. It has much better compression, while audio quality is equal or even greater. For instance, 192 kbps M4A sounds nearly as good as MP3 256~320 kbps, but the file size is about 40% less. Less file size means you need less disk space on your hosting, less bandwidth usage, and listeners download it faster.

Advanced Audio Coding

Also, M4A has another cool feature. As a container, it can include additional information, such as chapters. You can split each episode into chapters, so listeners can navigate by tracks throughout the episode. I found this feature very handy, especially when listening to a podcast on-the-go.

Episode tracklistings — chapters on desktop iTunes

Okay, you have hosting and audio files. Next step — create an RSS feed. Basically, this feed is a simple text file with an XML extension, where XML is a markup language. It’s great if you familiar with HTML as they are similar at some point, but no worry if you are not.

XML RSS specifications

XML file is made of tags. Tags define structure of the file, and most of them should be written two times, so-called opening tag and closing tag. It looks like this:

<tag>Content</tag>

You can find a description of all tags in Apple’s “Making a Podcast” guide — this is when it’s actually useful.

XML file consist of two parts: the “header” with general information about your podcast, and the “body” with list of episodes. Here is example of the header part:

<?xml version="1.0" encoding="utf-8"?>
<rss xmlns:itunes="http://www.itunes.com/dtds/podcast-1.0.dtd" version="2.0" xmlns:atom="http://www.w3.org/2005/Atom">
<channel>
<atom:link rel="self" type="application/rss+xml" href="http://yourdomain.com/feed.xml" />
<title>Your Podcast Title</title>
<link>http://yourpodcastwebsite.com/</link>
<language>en-us</language>
<copyright>&#xA9; 2015 Brad</copyright>
<itunes:subtitle>Your Podcast Subtitle</itunes:subtitle>
<itunes:author>Your Name</itunes:author>
<description>Your Podcast Description</description>
<itunes:summary>Your Podcast Summary</itunes:summary>
<itunes:owner>
<itunes:name>Your Name</itunes:name>
<itunes:email>youremail@domain.com</itunes:email>
</itunes:owner>
<itunes:image href="http://yourdomain.com/podcast_image.jpg" />
<itunes:category text="Music" />

And here is an example of the specific episode. As you can see below, all the information about the episode goes between the item tag.

<item>
<title>Episode Title</title>
<itunes:author>Your Name</itunes:author>
<itunes:subtitle>Episode Subtitle</itunes:subtitle>
<itunes:summary>Episode Summary</itunes:summary>
<itunes:image href="http://yourdomain.com/episode_image.jpg" />
<enclosure url="http://yourdomain.com/episode001.m4a" length="182072111" type="audio/x-m4a" />
<pubDate>Wed, 14 Oct 2015 01:00:00 GMT</pubDate>
<itunes:duration>120:00</itunes:duration>
<itunes:keywords>tags, of your, podcast, separated, by commas</itunes:keywords>
<itunes:explicit>no</itunes:explicit>
</item>

Feel free to use my XML file as a reference for your feed. Also, I recommend checking your feed by typo and errors every time you update the file.

Feed Validator

Once you fill up the XML file, it’s time to submit your feed to iTunes. This a one-time procedure. Just go to submit a link (it should open your iTunes application) and follow the on-screen instructions. The validation by Apple may take some time, I would say a week. After that, your podcast will be available on iTunes and accessible via search.

Rave Podcast on iTunes

And the last advice: if you do it, then do it. Don’t stop. I know plenty of good shows that no longer exists. Seems not many people realize that having a podcast on a schedule is hard work, but it is so. A podcast is like workouts in a gym: it requires time, efforts, and discipline, but eventually, it pays off.

Getting audience

Once you set it up, drop a link to your podcast in the comments below, I’ll subscribe :-)

Cover image © apple.com

 No comments    96   2015   Advice   iTunes   Marketing

Audio engineers

cover black

Who are some top-notch, professional mix engineers for trance and psytrance? I have an album that I want some professional help on, but I can’t seem to find the right engineers for the job.

Evan Smith

Music production and post-production, which includes mixing and mastering, requires different skills and different kind of knowledge. A good producer does not necessarily have to be a good engineer as well — it’s distinctive professions. And it is commendable that you have decided to find a professional engineer, rather than release a half-assed product.

There are plenty of good engineers around, but I can advise only the ones with whom I dealt personally, or by trusted recommendations. Here they are (not in particular order):

  • Ido Ophir “Domestic”, Israel.
  • Drasko Radovanovic “Relativ”, Serbia (no longer does it)
  • Milos Modrinic “Sideform”, Serbia.
  • Barthelemy Bayona “Bart XSI”, France.
  • Edward Mouftiev “Cybered”, Russia.
  • Andrey Vakhnenko “Andi Vax”, Ukraine.
  • Tim Schuldt, Germany.

Perhaps, dear readers want to recommend more worthy engineers in the comment box below.

 2 comments    885   2015   Advice   Music Industry   Production

Getting audience

cover transparent white

Hi, Daniel. I’ve been producing music for 10 years. I released a few tracks on different labels and got support from some DJs. However, I still haven’t gathered an audience around my project.

I don’t know how to promote my music. This might be an obvious question, but what is the right strategy to do that? For example, I have a page on Facebook or Soundcloud and I want to get more followers. But I don’t know what is the best way to do that.

Another question is concerning the management of an artist. I heard, that many producers are hiring managers who can help them with a promotion in different media. Where can I find this person and how the process of working with manager looks like? Thanks.

Alexander

Professional music producers are public persons. We need the audience, just as the film industry and theatre. The problem is that not many music producers realize this simple fact: getting an audience is hard work, no less hard than the music production itself.

Facebook and Soundcloud are good platforms for promotion in general, but it’s kinda tricky. The Internet, and social networks in particular, forever changed the way how we communicate. Social media are amazing, whilst also causes another problem: many producers strive for the numbers on their social profiles, thinking it is will lead them to success. It’s nice to have a lot of followers, but it shouldn’t be a goal or measurement of your success as an artist. Don’t fall into this trap.

Also, think of social networks as one of the tools, but not limited to it. There are many other ways for promoting. Your audience will grow along with your artist name, and Facebook is a nice place to gather them. But not for finding a new one, otherwise it’s a vicious circle.

Here are some ways of promoting:

  • Make good, quality music. That’s the essential foundation.
  • Release music on trusted record labels. They do not necessarily have to be big ones but rather have their own niche audience, which is obviously should be your audience, too.
  • Get gigs. Gigs are probably the most effective thing in terms of the promotion: your name is posted on events lineup, printed on flyers, you get more fans (the real ones, not just numbers in social profile) while playing, and more business connections at the venue as well.
  • Get offline business connections with industry professionals, like DJs, musicians, party promoters and event organizers, press, and so on. I wouldn’t rely much on this, but it might help to open some locked doors.
  • Make guest mix appearances. Many DJs host their own radio shows and usually have guest slots. Find those DJs with a similar audience to yours. By doing guest mixes, you increase your exposure.
  • Start your own radio show or a podcast on iTunes, it’s relatively easy nowadays. Unlike guest mixes, you probably won’t increase, but you’ll get loyal fans in a long-term perspective. Also, having your own radio show will keep you in a good shape as a DJ. Like fitness, just not for the body.
  • Run blog and post advice :-)
  • Deal with a press. Make sure that your key releases and news are highlighted by bloggers, reviewers, and niche websites of your musical genre. Arrange interviews, articles, and more publications.
  • Arrange a photo session to get quality press shots. Using it in the press and social media, it could help your fans to associate your music with your identity. Consider pictures as part of your branding.
  • Create a personal website and keep it up to date. It’s good to have all the information about your music easily accessible in one place. Don’t rely much on social networks on this.
  • Send email newsletters. Emails are a strong marketing tool that you shouldn’t underestimate. Make sure to put a noticeable form on your website, so you could gather email addresses from those who are interested in your news and updates.
  • At last but not least, use social networks.

And the list can go on. As you can see, there is a lot of work here that needs to be done. If you not doing some of these points, you miss some part of the audience.

Also, I want to clarify the last point, since you asked about Facebook: “to use” social networks is not the same as “to be there”, like a shadow of presence. You have to actually actively use it: share posts, reply to comments. Do it daily, or so. Yes, it’s a very time-consuming process, but it pays off. Facebook has been designed to connect people, so here it is — the connection. You can instantly get feedback from a fan in a different country, musicians of the past century could only dream about! So use this tool to its full power.

As for the right strategy, I’m afraid there is no “right” one. It’s all matter of personal choice and your personality. In general, I’d advise keeping in on the professional side of things.

Numerous selfies and photos of your breakfast might be interesting to your friends (I bet not), but most likely not to your fans. There is nothing wrong to say “please give a like”, or “please buy this track”, but repeated infinite numbers of times it looks pathetic. Pictures of cats, dogs, and internet memes might be annoying rather than funny.

Instead, I’d recommend sharing details of your production: from idea and draft, to “work in progress” and behind the scenes of the final result. Show people how hard you work in pursuit of success. Even small details of your work, like upgrading studio gear, or finding out a new trick, might catch huge attention from your fans — it is always nice to look at the inside world, at the “kitchen” of professionals.

Remember, your music is what basically makes a connection. People love you for the music, not for the brown eyes, unless you are a pop star. So stay on topic, keep it in a professional manner, carry on with dignity. And most importantly, be yourself. As for the question regarding managers, perhaps, I’ll write about it next time.

Artist manager

On cover image: Comfort 13 club, Tel Aviv.

 1 comment    157   2015   Advice   Facebook   Marketing   Social media
 No comments    265   2015   Production   Sound design

Psytrance bassline synthesis

What are some good techniques to get that deep bass sound that I hear in a lot of tracks by artists such as yourself, Lyktum and E-Clip?

Specifically how do you go about synthesizing one (also what are common synths used) and what extra processing that goes on top of the raw synth sound. Lastly, do you bounce the sound to an audio file once you’re happy with it and edit it further there or do you keep it as a midi file the entire way through the track creation.

Lastly you may want to edit this out but do you teach music production over Skype?

Jack

Ah, the bassline. How many thrills in this word among music producers! Some producers seem to think they own a certain sound, but those sounds had been used since the 80s, using pretty much the same technique. Jack, I cannot speak on behalf of E-Clip or Lyktum, so I’ll tell the way how I do the bassline.

Formally speaking, the bassline is one of the simplest sounds in Psytrance music. Unlike of Dubstep bass, for instance, where you need plenty of modulations, canonical Psytrance bass requires much less. Basically, all you need is just a few building blocks of synthesis: single oscillator, filter, and envelopes. You can use pretty much every synthesizer for this.

Recommended synths

So, let’s take the initial preset of your favourite synth. I’m using Sylenth1 (which, by the way, finally got 64-bit version support), but again, this is only a question of personal choice — you can recreate that bass in many other synths. For this demonstration purpose, I took some random kick from my samples library and placed MIDI-note of the bassline on note D1.

Sounds very basic and primitive so far, but that’s okay. The first thing I gonna do is select Saw wave shape (Sylenth1 uses Saw by default, but other synths may use Sine or other shapes in their initial presets), and drop down the pitch by one octave down. If you use more than 1 voices in the oscillator, make sure that “Retrig” option (or whatever it called) is turned on — it forces all voices to start at the exact same location on the waveform every time a note is played; it prevents voices to be out of phase.

Now I gonna apply Lowpass filter with 24dB attenuation per octave — it gives a slightly faster/sharper cutoff comparing to 12dB. Play around with cutoff frequency up to your taste. Then I gonna route filter cutoff to modulation envelopes. Now let’s take a look at ADSR. The bass sound should not have fade-in, nor fade-out — so we drop down Attack and Release parameters down to zero. Sustain would give a long “body” of the sound, which we no need here much either. So the only parameter left to play around is Decay — I would give it around 30% of the maximum value. And pretty similar settings to oscillator envelopes.

Here is the summary look of what I have done so far:

This is it — the essential foundation. Tiny details could be tweaked further up to your taste, but I satisfied so far. Skipping to one of your questions ahead, — yes, I do bounce the bassline. This is also called resampling. Different DAWs requires different actions to make resampling, but the general idea is to change, to “bake” our bass from MIDI into solid WAV state. I believe, it gives more consistent sound, more predictable and aggressive velocity. Also, it may save your CPU if you experience a lack of performance.

Once a single bass note is resampled, I put that sound into Sampler and then build a desirable bassline pattern. So it goes like this: MIDI → resampling of single note → resampled piece of sound into Sampler.

As you can see, I have three tracks here. I do recommend to keep your original MIDI bass, don’t delete it, just leave it muted or “frozen”: you might want to go back and change something in the source.

It sounds like this:

Quite nice, but need to EQ it a little bit. Usually, I remove that kind of “mud” at around 300 Herz and gently boost lower harmonics. Since I’m using the note of “D”, the harmonics will be at 73 and 147 Hz.

Psytrance bassline equalization

This is it. You can also play around with velocity, and give some “character” to bassline by adding a pinch of distortion, compressor, or any other device up to your taste.

Remember, this is not a ready-to-use recipe (although, you can use it), but rather I would like to give understanding of the process, so you could create a bass that suits your needs, with a personal touch.

I hope it helps.

Lastly, — no, I don’t teach music production over Skype, although I do realize it might be even profitable. The purpose of the “Advice” series is to make mechanisms of music production and industry a little bit more transparent and easier to understand. I would like to make this knowledge wide open, hence why I prefer blog posts rather than personal talks on Skype.

Read also: How to make a punchy bassline

 6 comments    10163   2015   Advice   Kick and bass   Production   Sound design

Live and DJ sets

Hi Daniel! Can you explain the difference between a live and a DJ set? I see a “Live” label on posters and flyers near the artist names quite often, but when they play, I do not really feel the difference.

Peter

Peter, the definition of “live” performance is very confusing in electronic dance music, indeed.

A fully live set with everything from beat to leads making on the stage is something that almost never happens when we talking about electronic dance music. Such live show requires very complex and accurate setup, one wrong step could ruin it completely. Thus we may see a real live performance only among non-dance genres of electronic music — it looks more like a classical music concert rather than a party.

Binkbeats Live @ Le Guess Who Festival

So, in dance music, there is a popular belief that the difference between live and DJ sets is in the music you play: if it’s your own music, it’s live, if someone’s else music — DJ set. But here is the problem: many producers these days have their tracks pre-mixed into a single continuous mix, so the only thing they have to do on the stage it’s clicking on the “Play” button in Ableton. And they call “live” sets! Shame, but true. While formally this is a live set (because they’re playing their own music), there is absolutely no “live” component, which brings us to such confusion in terminology.

On the other hand, we have DJs. The skilled ones working like a computer: they “read” and analyze the crowd to guide it through the musical journey. Some DJs even playing several tracks simultaneously and doing a so-called “remixes on-the-fly” — thanks to modern software and advanced hardware, they can focus less on mixing and more on creativity. Either way, such DJs are playing much more “live” sets in terms of real live performance on the stage than musicians with their fake live sets.

Live @ Bülach, Switzerland
Live @ Moscow, Russia

With all of this, I came up to the following: doesn’t matter whose music you’re playing, but how you play — that what determines the difference between live and DJ sets in my opinion.

 No comments    2860   2015   Advice   DJing

Bassline compression and hats EQ

Hey Daniel, how are you doing? I’m a great fan of yours, and I think this is a wonderful idea.

When working on basslines would you use compression or not? And also getting your bass to work with the groove of your hats perc can be tricky? Any tips would help? And last question, any tips on getting that percussion hats, snares to stand out in the mix, I’ve noticed the sound has changed a lot and a new benchmark has been set.

If you do have the time could you pls pls give me advice on my debut free track? I’ll understand if you can’t but it would be like Xmas came early :) Thank you Daniel.

Marc Swanepoel

Marc, “to use compression or not” is a bad question because in general, I would say “no” — if you can avoid an extra plugin, then don’t use it. Less is more. However, a compressor is a very powerful device: it can be used for “healing” purposes (as I call it), as well as for creative manipulations.

So rather than think of “should I use this device or not”, think of what you’re want to achieve, and then you’ll get the answer. Like, do you want to make the bassline more punchy? Do you want to make it sounds more dynamic? Do you want the bassline to fit better to your kick? The list of compression usage goes on. And answering your question, do I use compression or not, — it depends. There is no definite answer.

As for the bassline and groove ‘friendship’, yes it can be tricky. Equalization is the main factor here. For instance, take a listen to these hats:

Nothing fancy here, sounds like typical mid-high range hats, right?. However, take a look at its spectrum:

You see, there is a lot of unnecessary low-end frequencies. Even if you did not notice it by hearing, it is still there. It overlapping the bassline’s frequency range and give your bassline less “room to breath”. So cut it off. I would say, you can easily cut it below 500 Hz in this case. Such unnecessary low-ends present in most other samples too (snares, closed hats, rim shots, cymbals, toms etc), so make sure to check frequency range by using a spectrum analyzer or EQ, and then cut off the low-end, if necessary.

The same applies when you want your hats and snares to stand out from the mix. Each element should have enough space in the frequency range. Also, you can try to increase the Attack of your snares by using a layering technique, compressor, or a transient shaper.

Bonus

I have listened to your track, and I have to say it’s fantastic, especially assuming that it is your debut track. I could give advice only on a few very small things because everything else is just great. Even the track tempo and key (140 F#m) were chosen nicely.

It seems you have used the same drum fills at 1:43, 2:38, 3:33, 4:55, 6:45, 7:40, try to focus more on transitions variety. I’m not quite sure, but I guess these drum fills have unnecessary low-ends, exactly what I wrote above — cut it off. Would be nice to add velocity to the Closed hats for extra dynamics, which comes into play at 1:50.

Criteria of professional production. Part 2. Fills and transitions

At 5:02 I thought that something big is coming, but instead, it was another breakdown — that would be pretty annoying for the crowd on the dancefloor. Two breakdowns in a row with only 1 minute of dance part in between is probably not the best idea.

The fills and growing moment at 5:50 is supposed to be the most emotional moment of the track, but I feel it miss something. On this part, people should scream and raise their hands in the air, you know. Try to add here some pitch risers, more effects, and maybe increase drum fills speed to increase energy level.

I hope it helps.

Earlier Ctrl + ↓
© Daniel Sokolovskiy, 2025
Powered by Aegea