Beat Repeat MIDI-mapping
Hi Daniel, as far as I’m aware you are using Xone K2 controller. How did you control Beat Repeat when played a set at PDJ TV (at 0:37 sec)? It seems that you turning on and controlling the repeat value by a single rotary knob, but I can’t figure out how to map it that way.
Neil Paterson
Well spotted, Neil! Yes, I use Allen & Heath Xone:K2 in my current setup, and I trigger Beat Repeat and controlling its value with a single knob.
Effects like reverb or delay typically have a Dry/Wet parameter, so it’s easy to adjust the desired amount of parameter and the rotary knobs of Xone K2 are perfect for this. But Beat Repeat is different, and basically, you have to map two separate parameters: turning the device “on” and “off” and the repeat value. And this is very clumsy when playing a set.

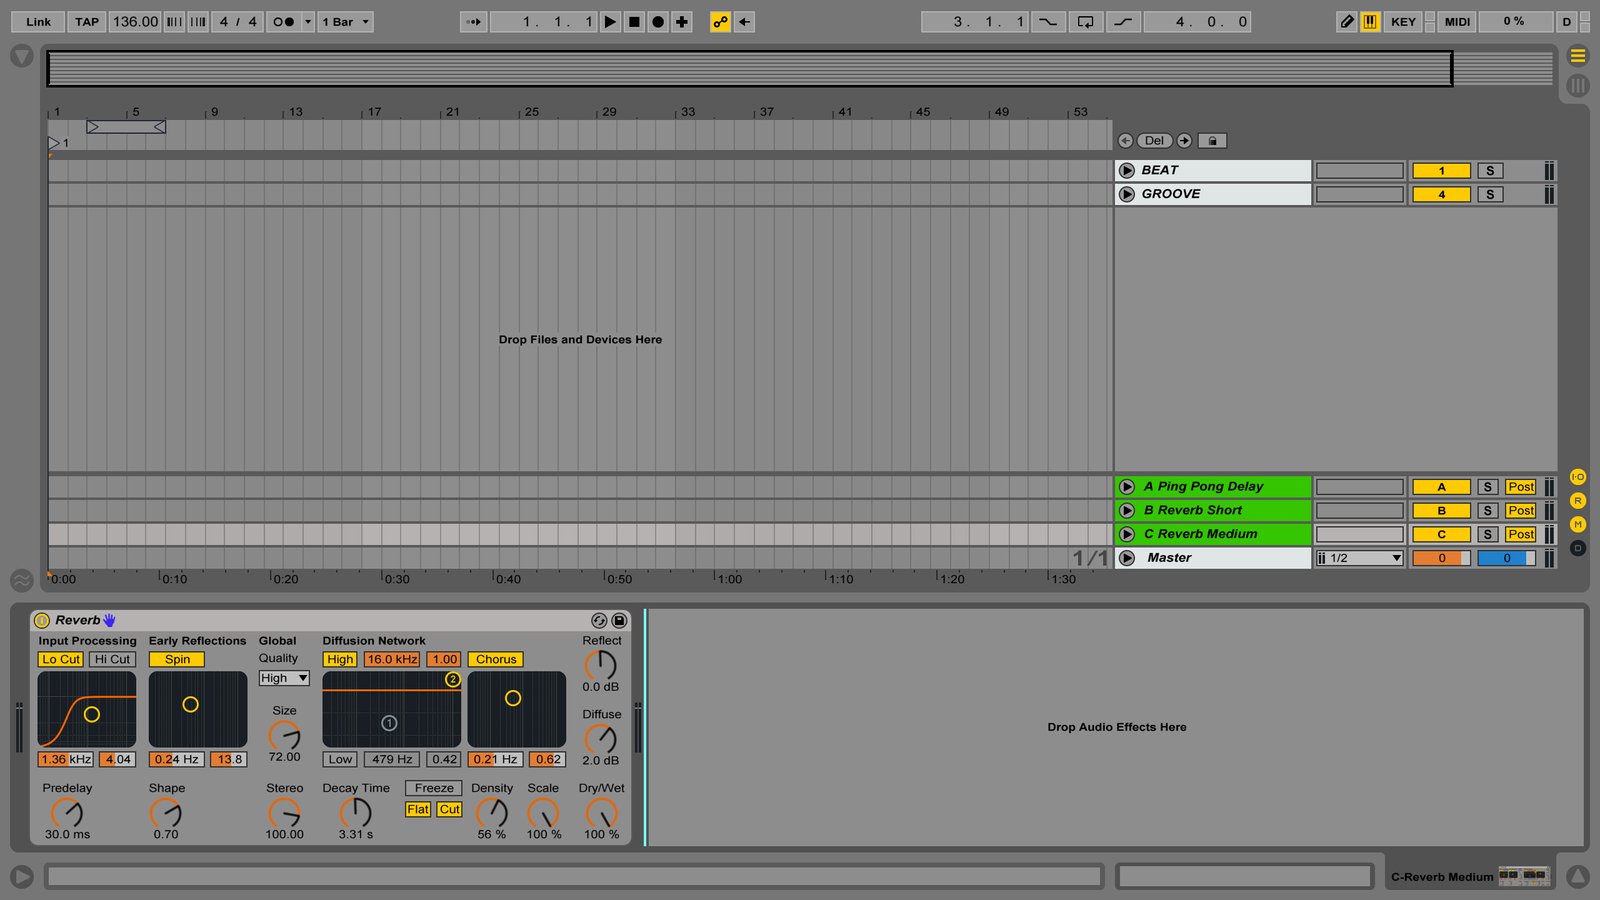
The trick is to make some starting point where nothing happens whilst the device is “on”. It can be achieved in a few different ways, you can just set the same parameters as I do:
- Interval to 1/4
- Grid to 1/6
- Gate to 4/16
- Turn on “No Trpl” button
You see, since we turned on the “no triplets” button and set the initial grid position to 1/6, nothing really happens. it means we can map this as a maximum left position of the knob to emulate the “off” state.

Half work is done, now we have to make a proper mapping. By default, when you map the Grid parameter, it sets 1/256 as a minimum value (left position of the knob) and 1 Bar as a maximum (right position of the knob). Obviously, we don’t need that.
First, you need to do the right-click choose “Invert Range” because we want our knob to control the grid in the opposite way. And now set the minimum value for 1/6 as this is Beat Repeat initial state as described above. I also suggest limiting the maximum at around 1/48 because 1/256 is way too extreme.
That’s it — this is exactly what I used during the set at PDJ TV.
But we can go further and bring this effect into a level by adding an extra EQ that would cut the low frequencies along with the intensity of the Beat Repeat. Here’s how to do it.
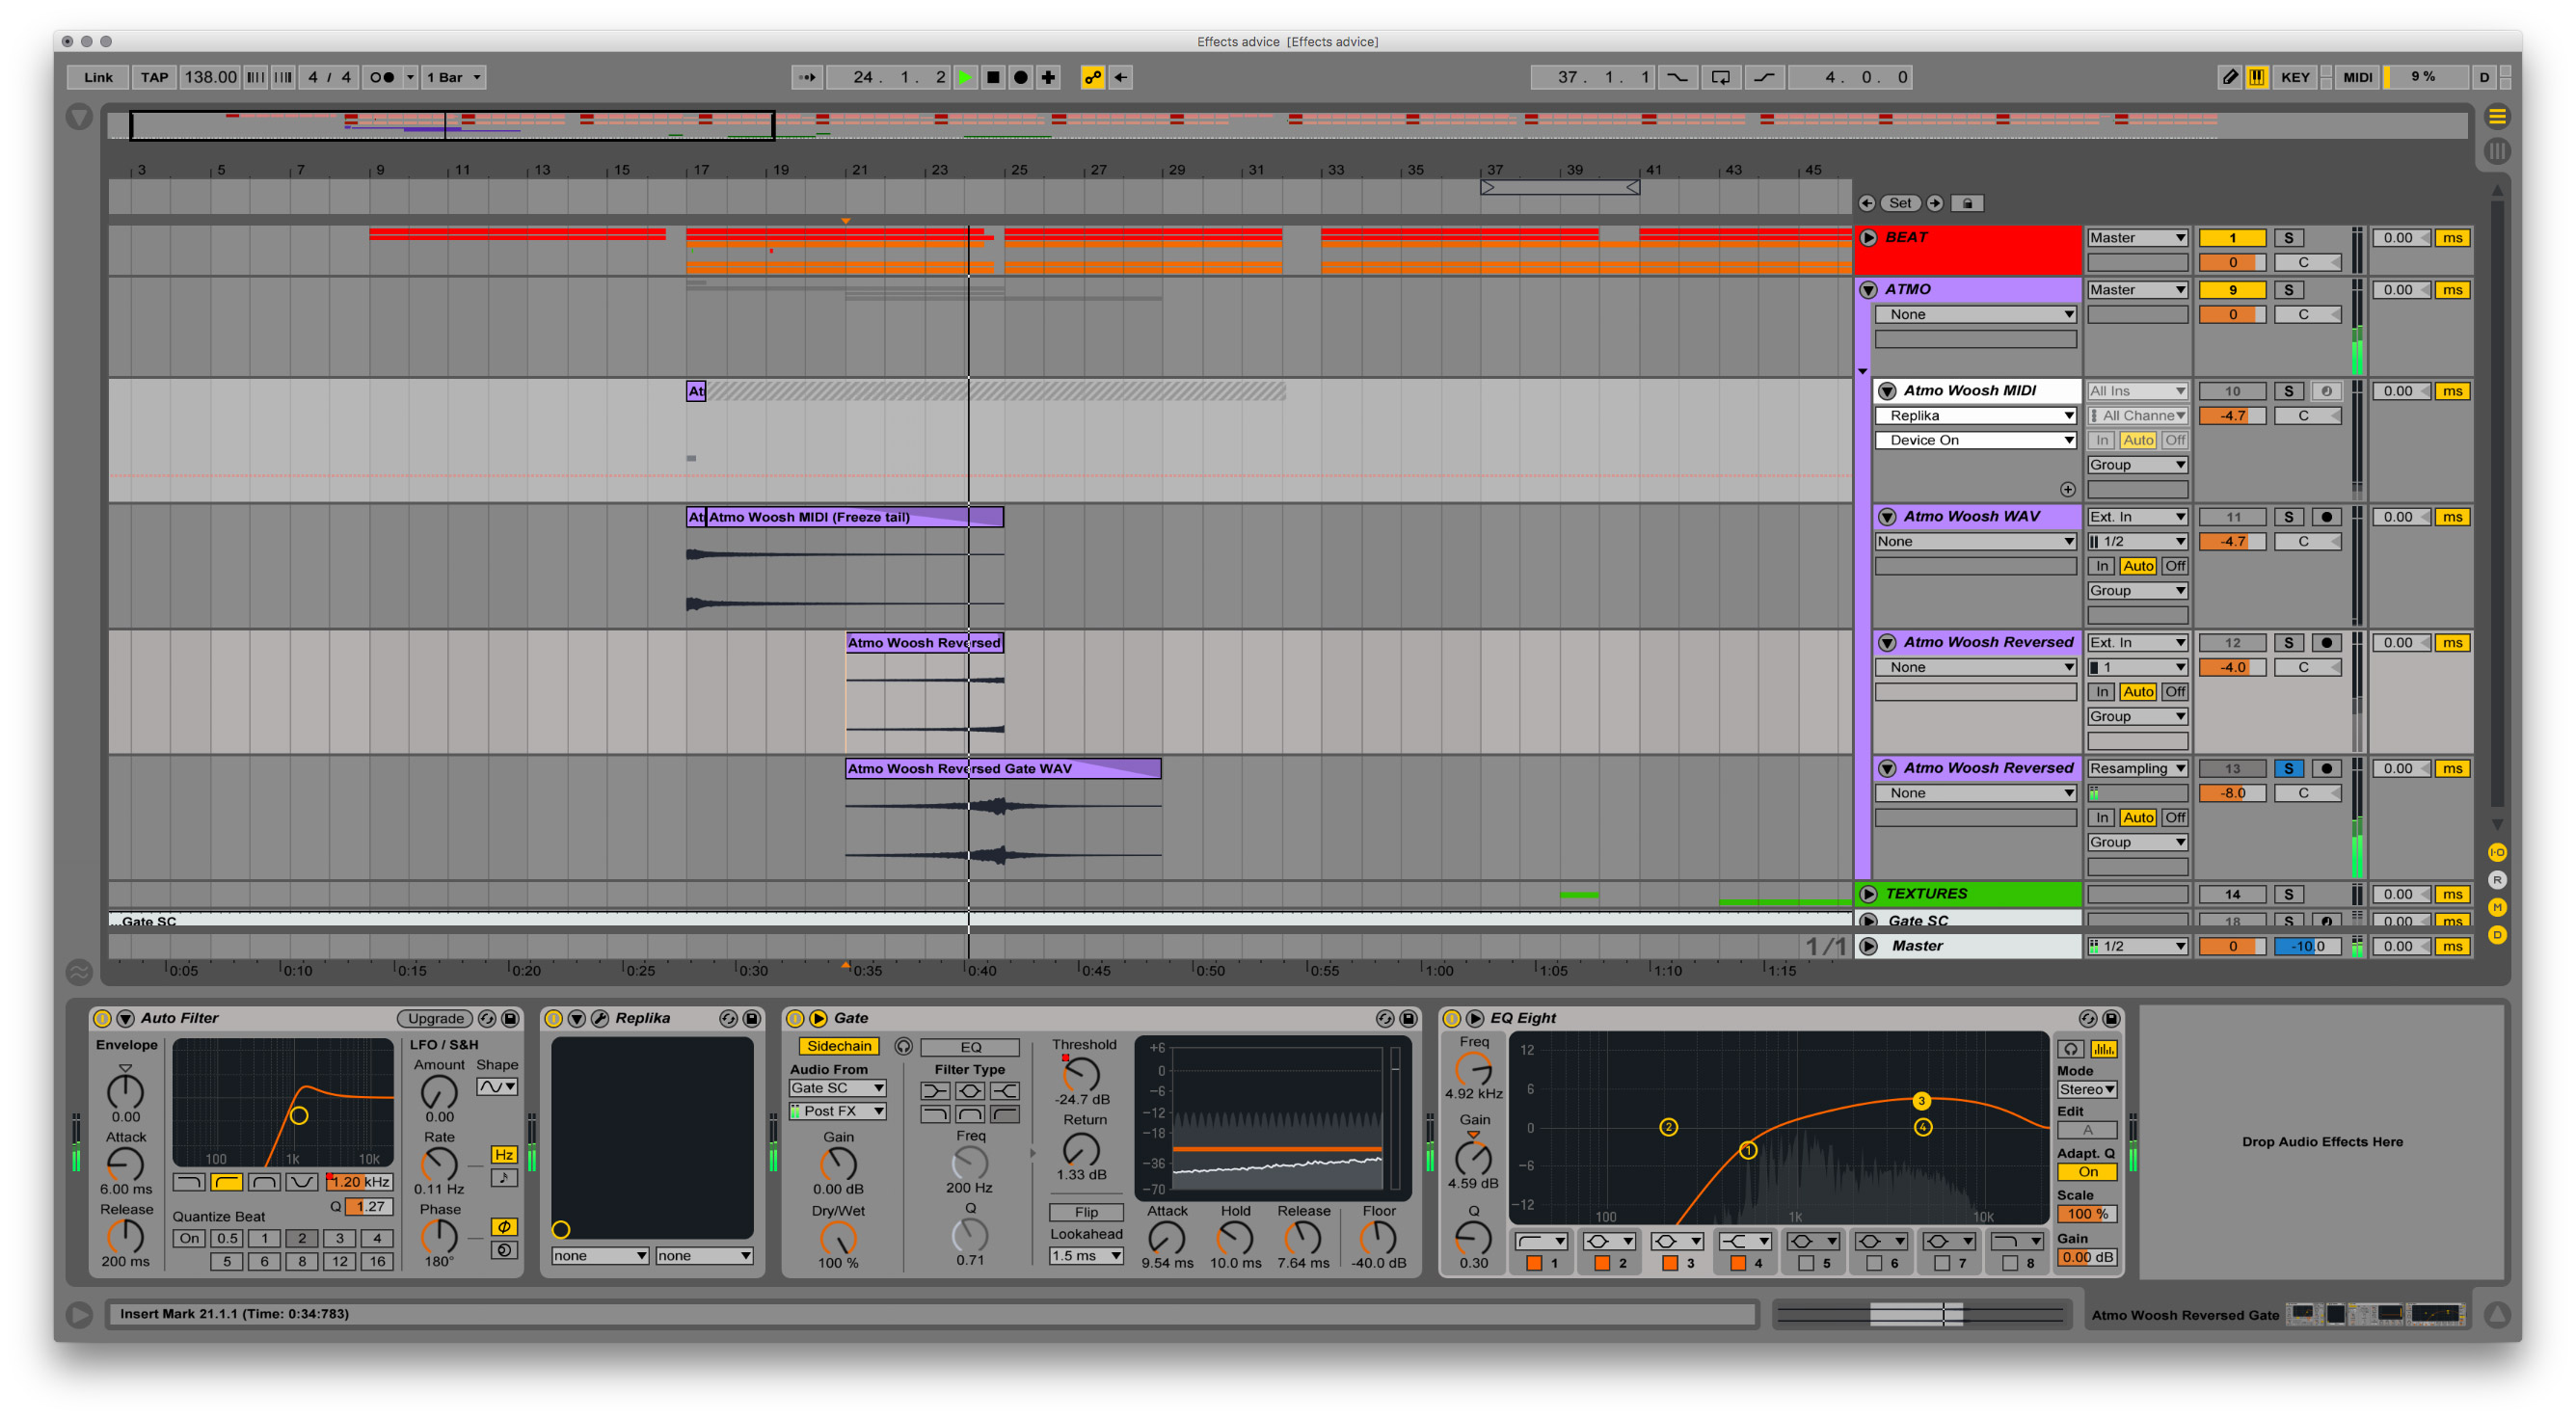
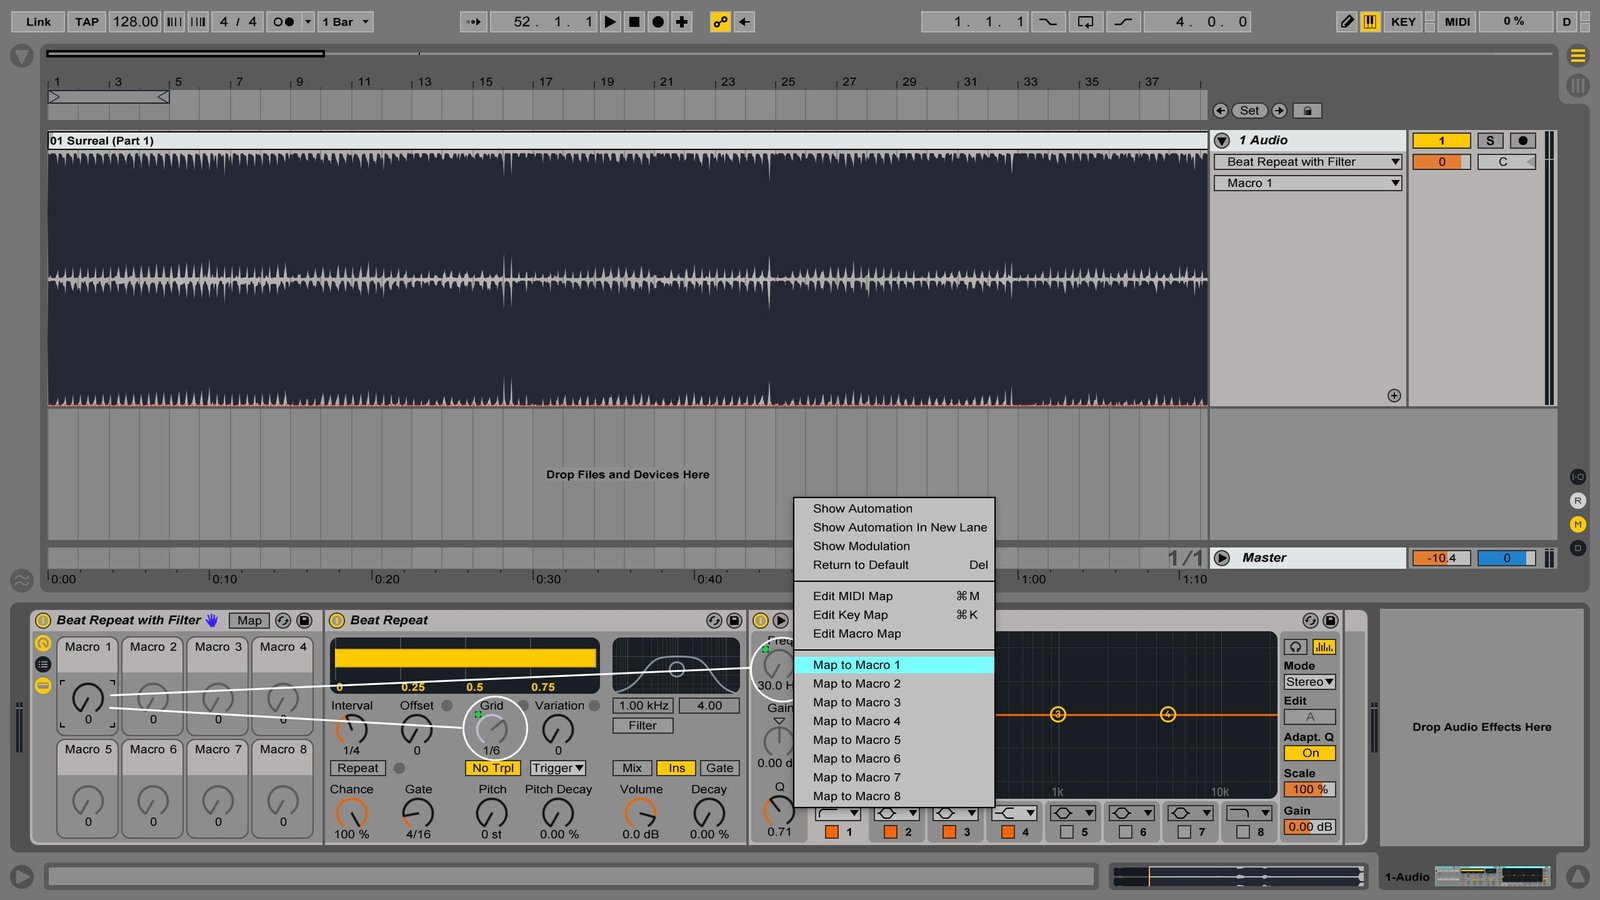
Add EQ Eight with a low-cut filter after the Beat Repeat and group them into a new Effect Rack (Select both → ⌘+G). Now do the right-click on the Grid and select “Map to Macro 1”, and then do the same for the EQ’s filter frequency:
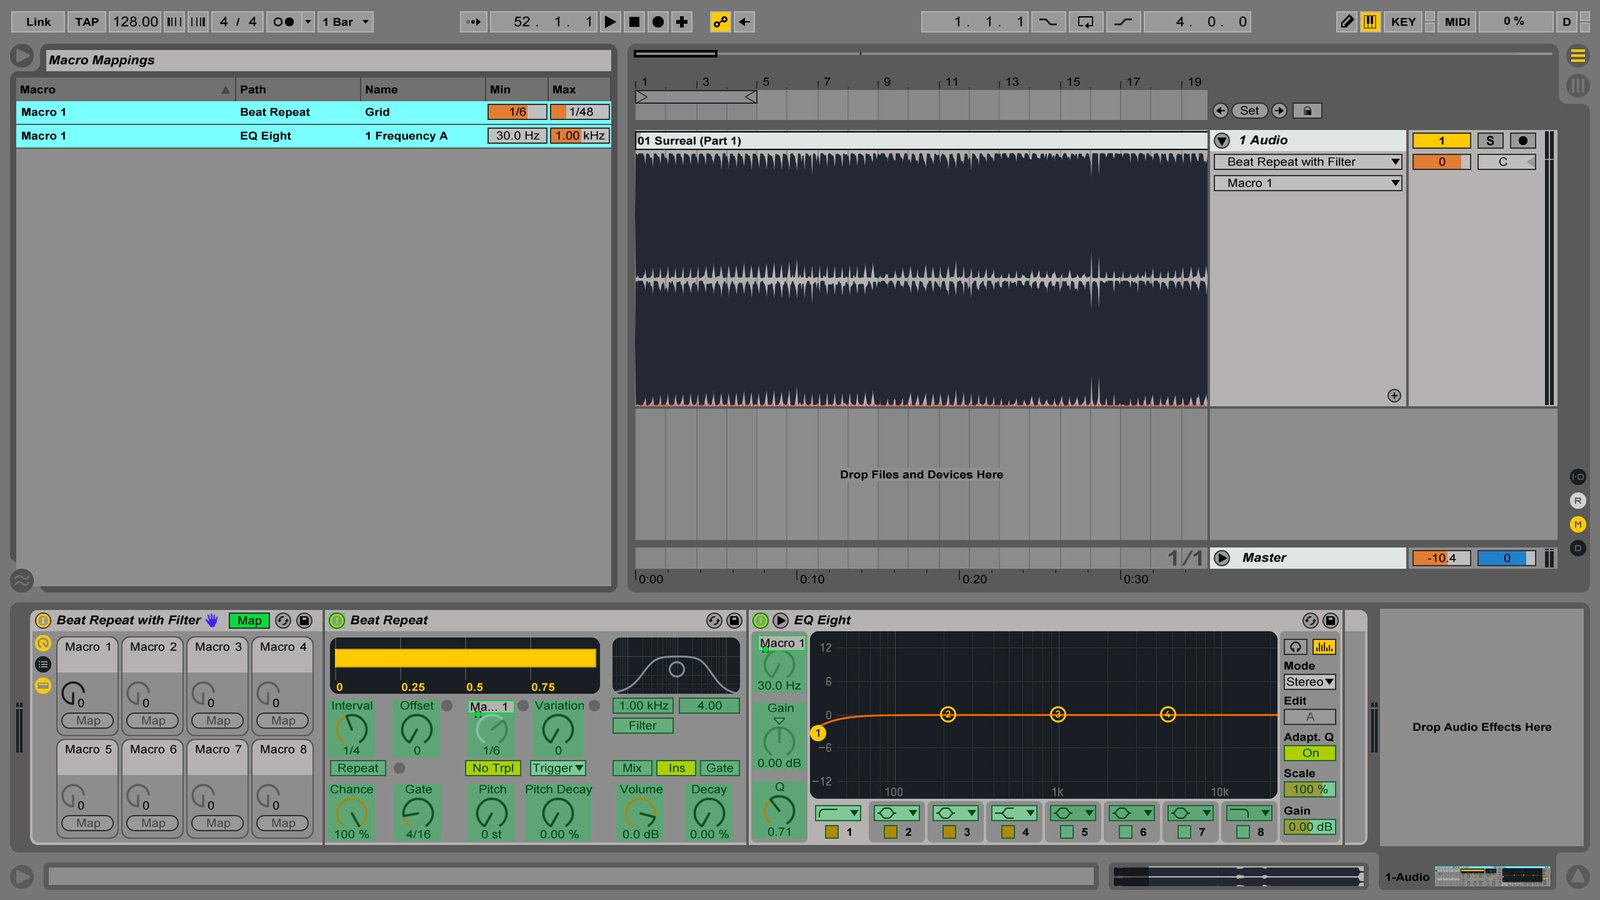
Now open macro mapping tab by clicking on the “Map” button and set a maximum value for the filter frequency at around 1000 Hz. It doesn’t have to be precise, but I suggest limiting the frequency that way otherwise the signal will be completely filtered.
And here is a tiny video I’ve recorded (excuse the shaking camera and the editing, I’m not a pro on making videos). You don’t need to do this effect that often obviously, this is just for the demonstration purpose: