Creating a pitch rising effect in Ableton
Hi Daniel, can you advise how to make a pitch rise effect on a vocal? E. g. like in this video at 2:42, they call it the “dub delay”. I can’t find any good tutorial for this. Many thanks!
Andy
In Ableton Live, there are at least two easy ways to do that using built-in devices: Ping Pong Delay and Simpler. They give slightly different results, so choose whatever better suit your needs. Let’s go over both methods.
Method #1: Ping Pong Delay
First things off, we need to take an audio sample which we will use for the processing. I’ll grab just some random phrase from my library, a one-shot speech sample says “Dark”. It’s pretty raw and dirty, but okay for this example.
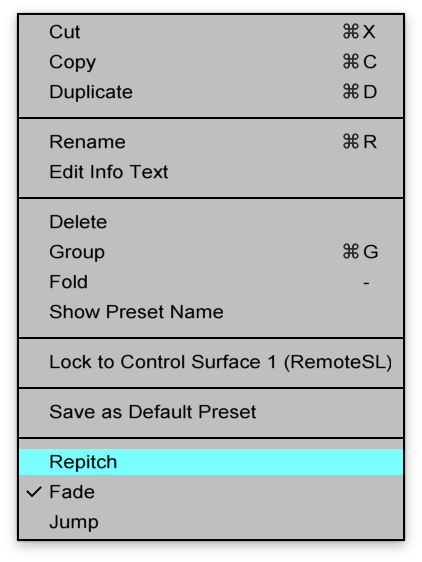
Put this sample to a new Audio Channel, and add Ping Pong Delay on top. By default, Ping Pong use an algorithm called “Fade”, we need to change it to “Repitch”. Click right mouse button on the device title and select it from the list:
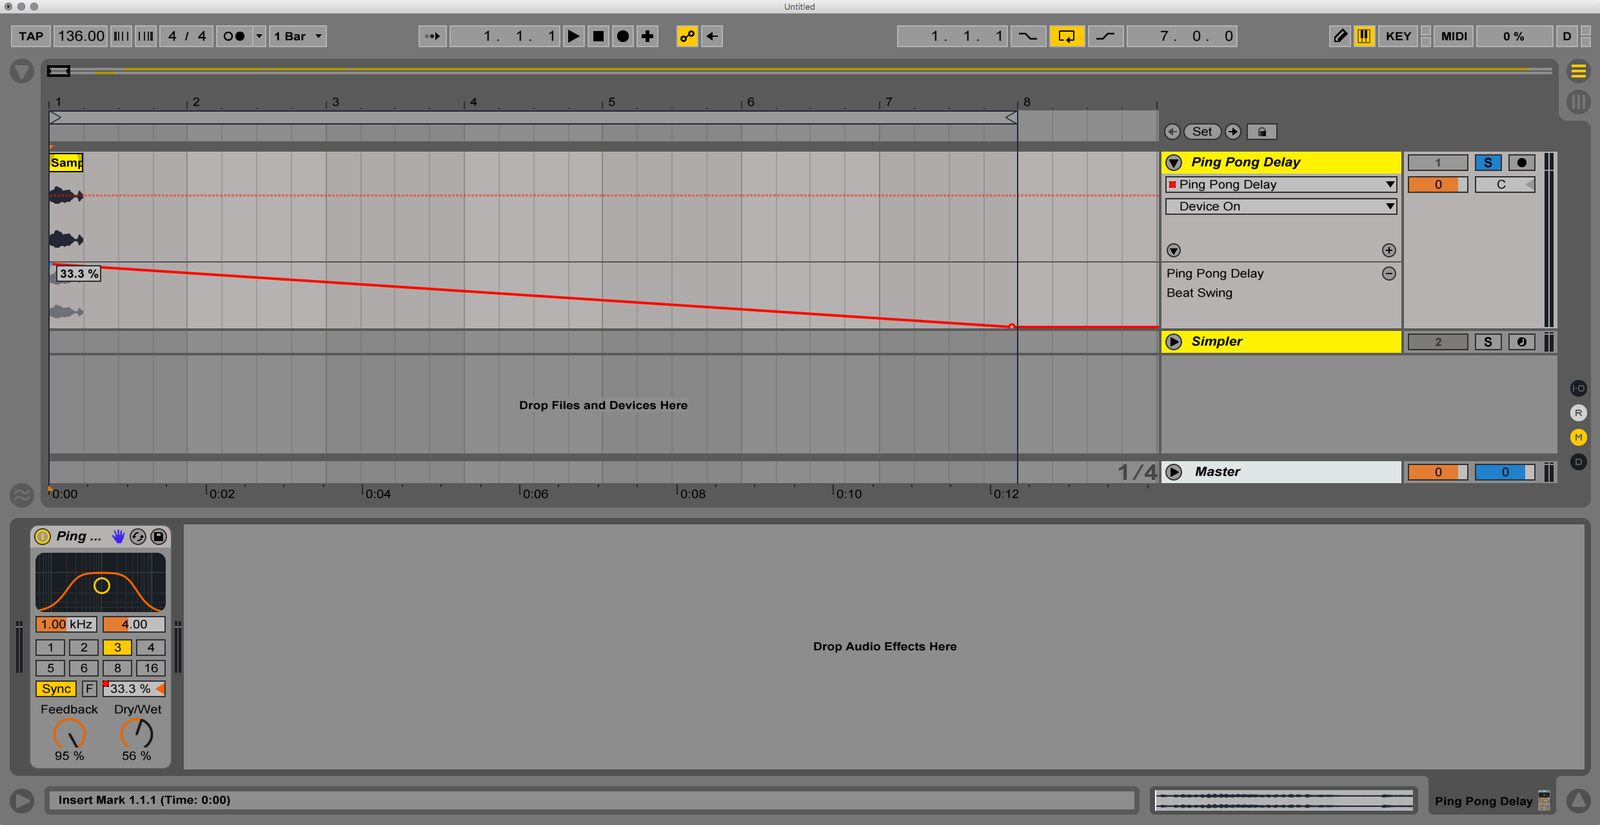
From now on the modulation of the “Beat Swing” parameter will affect the sample’s pitch. Change it to the maximum value of 33.3%, and draw automation down to the end, at -33.3%. Here is what we’ve got so far:
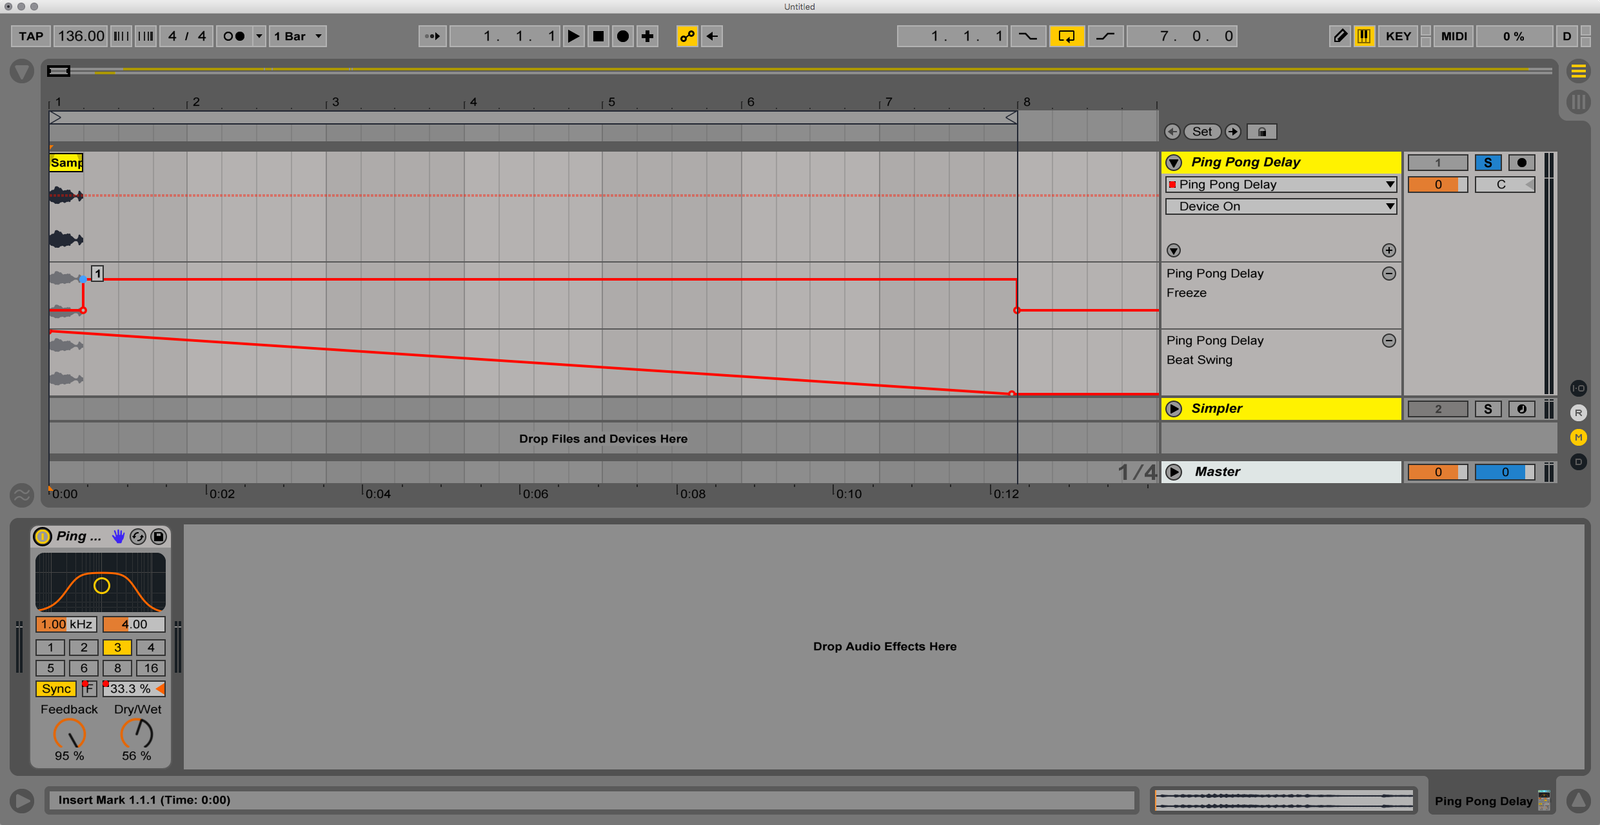
The effect itself is fine, but as you can hear the sound fades out over time, and we don’t need it. To fix this, simply turn on the freeze function, a small square “F”. Now the delay effect will last infinitely as long as the freeze is turned on:
Method #2: Simpler
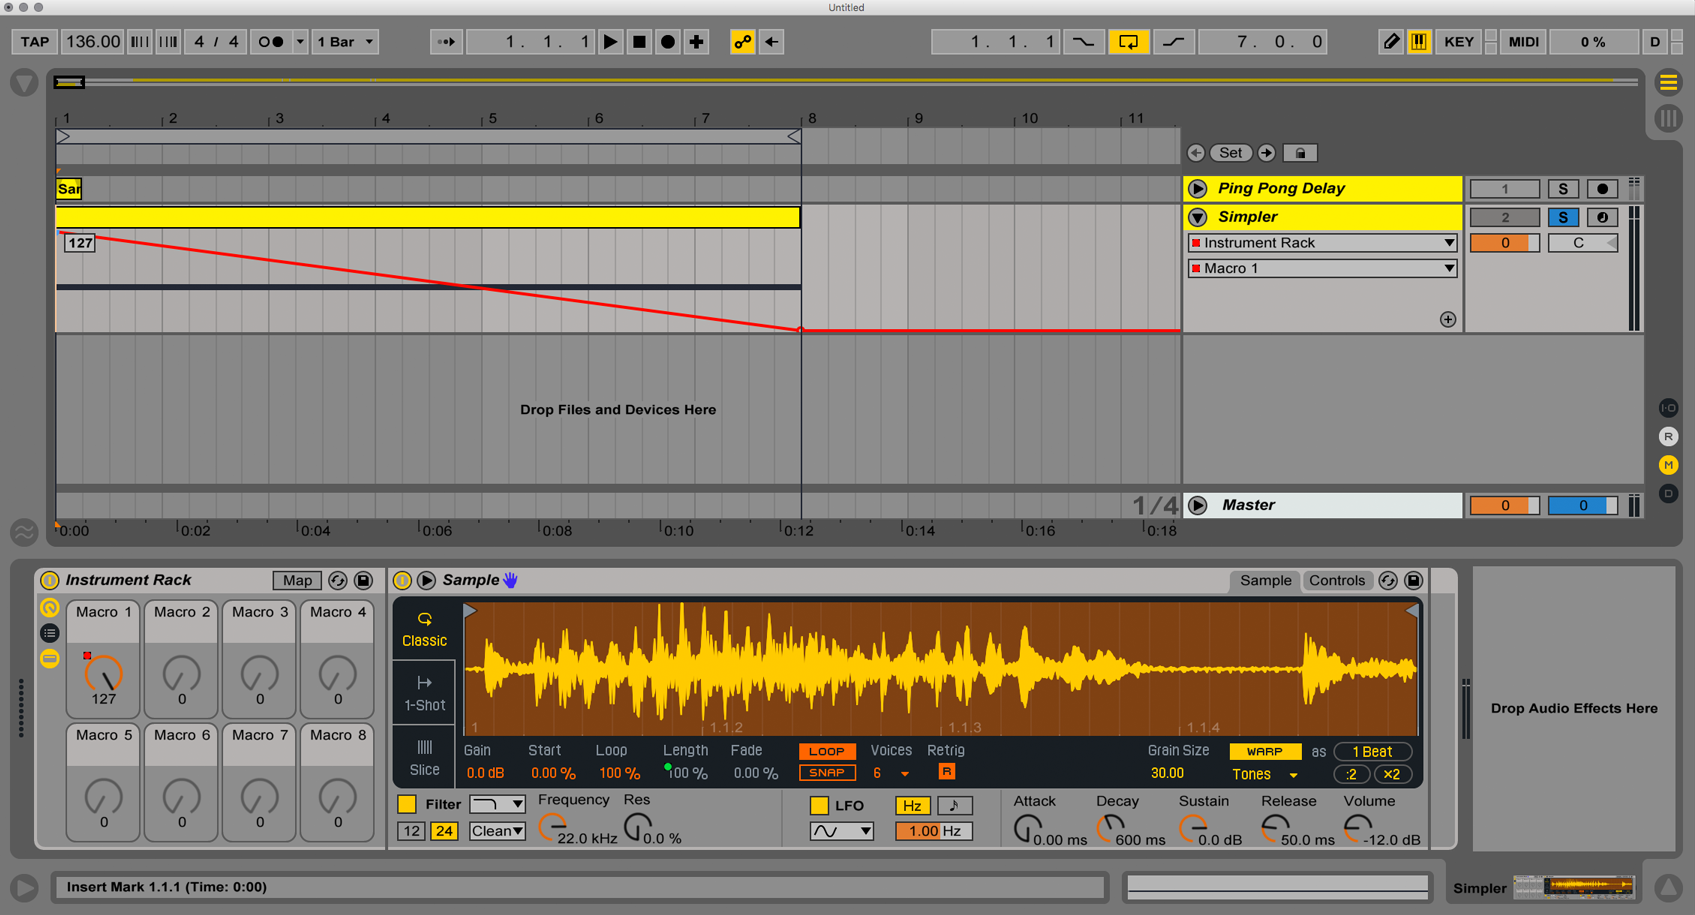
Now let’s take a look at the alternative method. It requires a few more steps, but I like it more. I’ll put the same source sample to a new MIDI Channel, Ableton automatically creates a Simpler device. By default, Simpler has some parameters that we don’t need, let’s change it in four clicks:
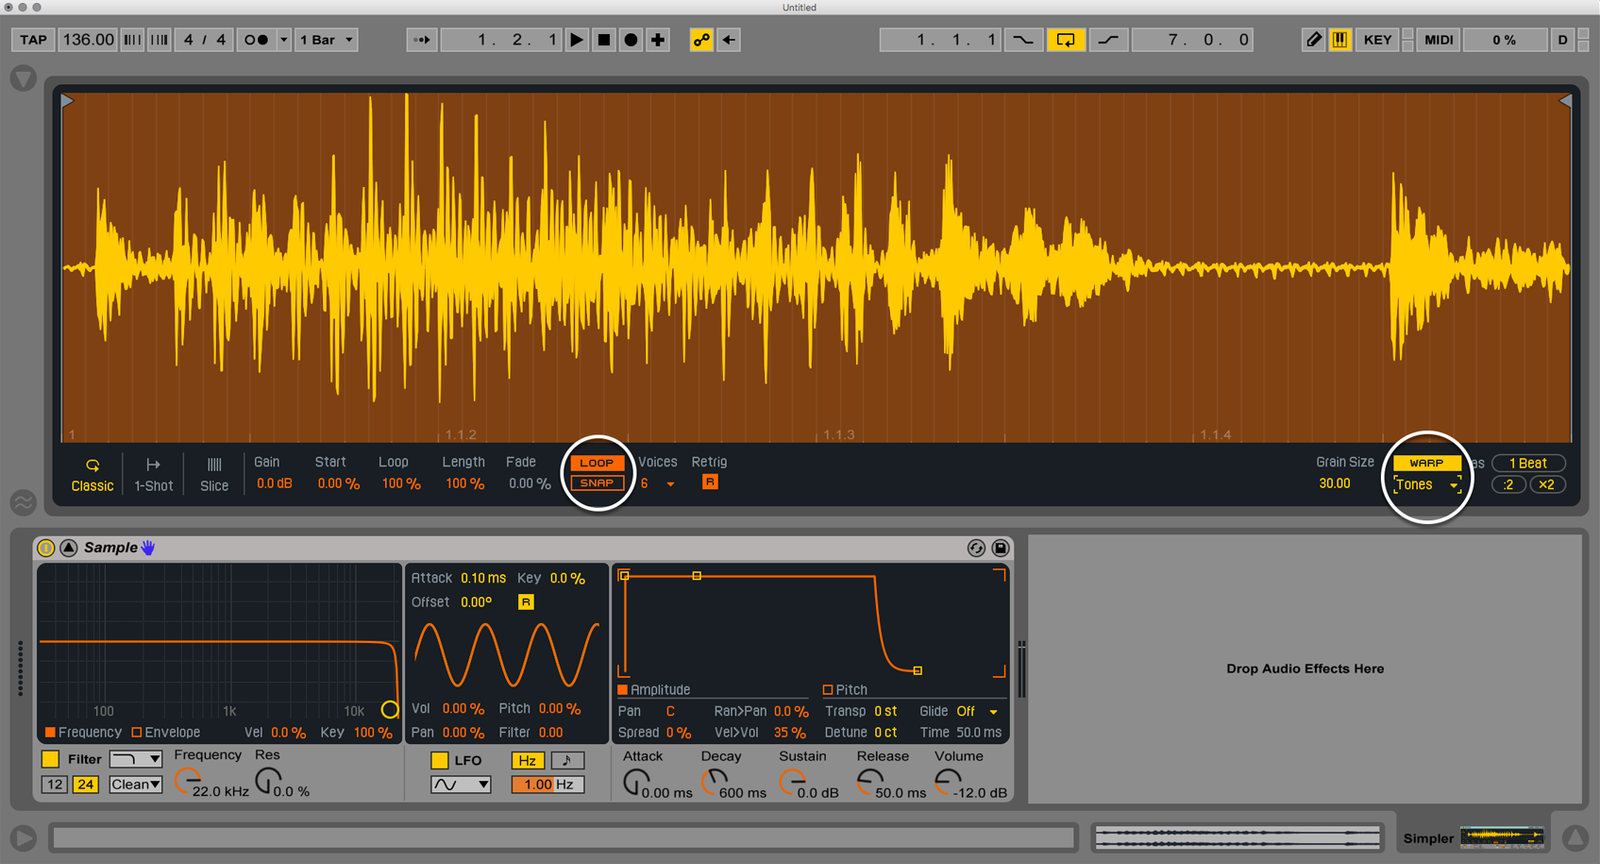
- Turn on the “Loop” button. With this, we can use a single MIDI note in order to repeat the sound.
- Turn off the “Snap”. Snap to grid a nice feature, but to make the effect smoother, we don’t it here.
- Change Warp method to a “Tones”. Other algorithms can work too, but I found this one is better in this case.
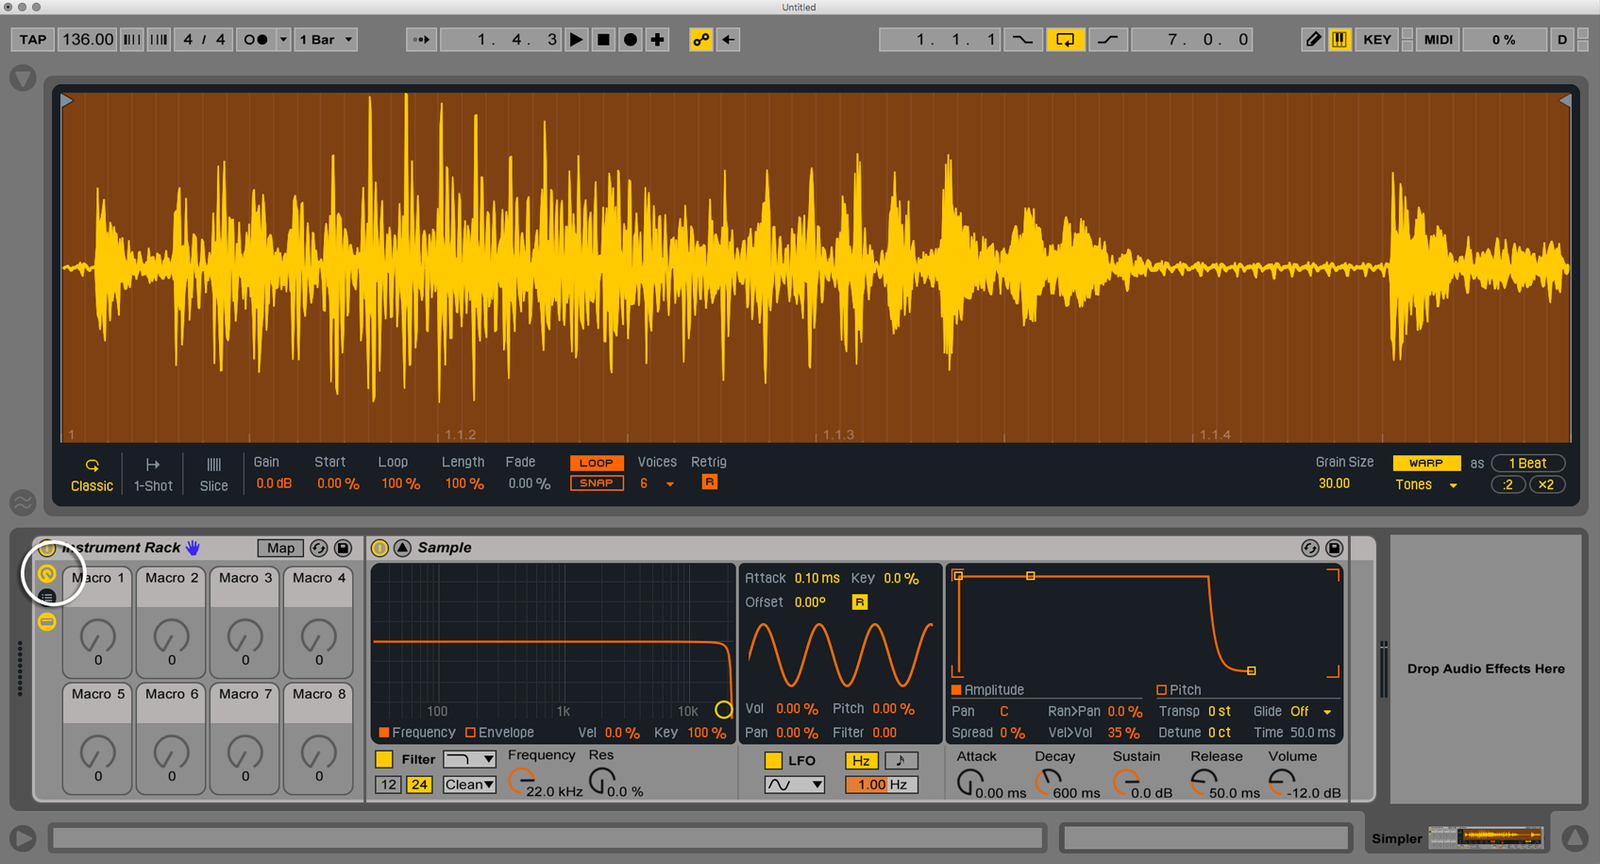
I highlighted these changes on the screenshot:
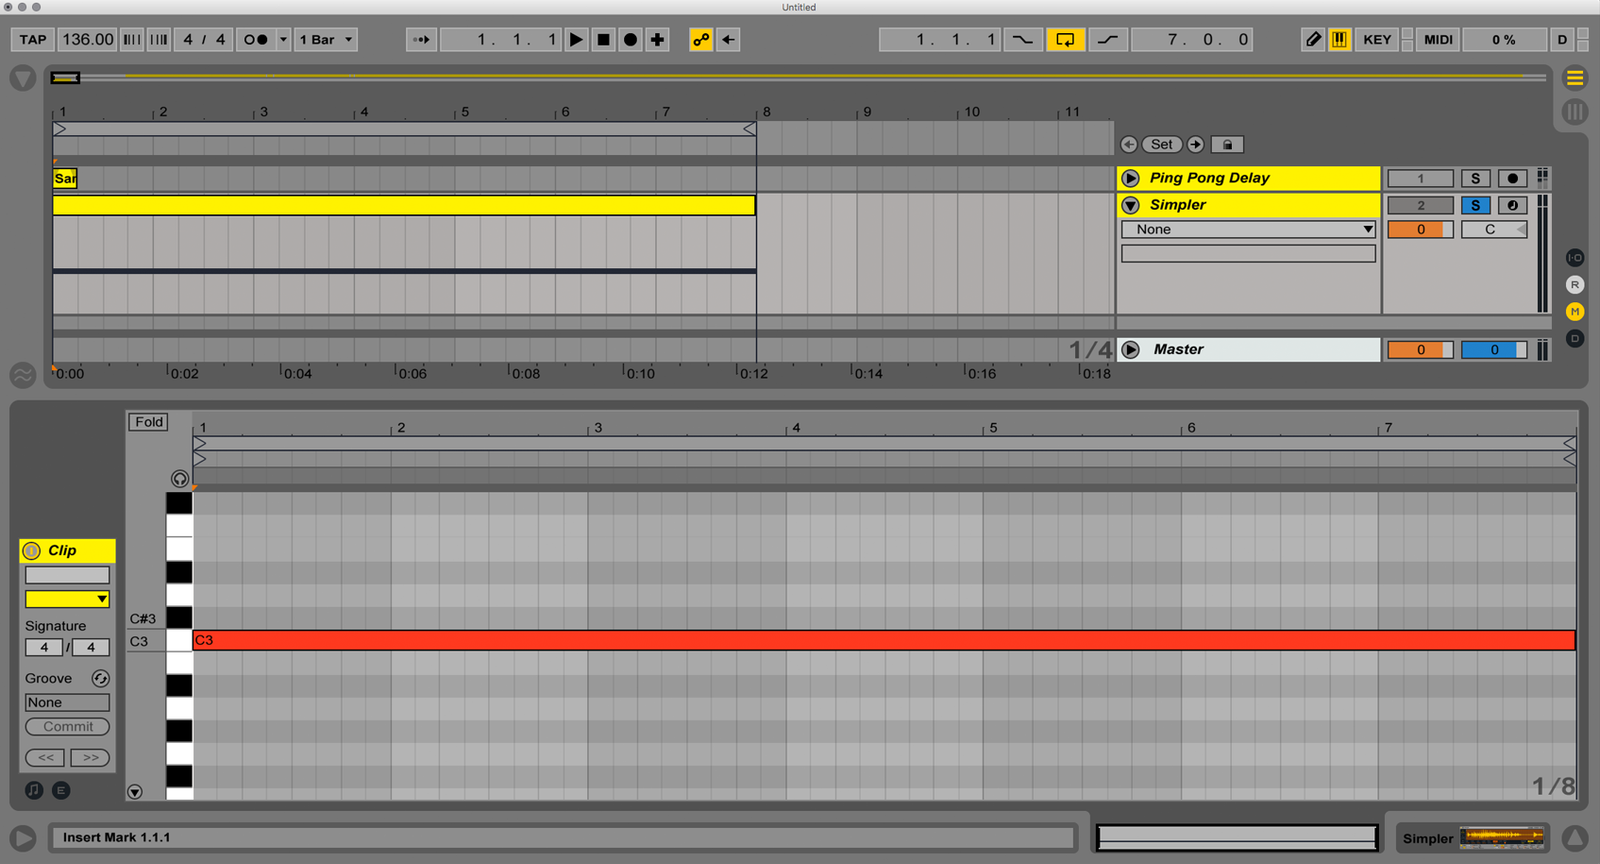
Now create a new MIDI clip, and draw a single MIDI note up to the full length. Make sure to put it on C3 — this is a default note for most samplers where a sample is played with the original pitch. Since we turned on the “Loop” function, it will sound like this:
Now comes the most interesting part. Select the Simpler and press ⌘+G (or click with right mouse button on the title and select Group), it wraps the device into Instrument Rack. Then click on the top left button to open a Macro section, like this:
Then we have to make a MIDI mapping on the length and transpose parameters. To do that, do right click on the Length parameter → Map to Macro 1, and right-click on the Transpose → Map to S Length, as highlighted on the picture:
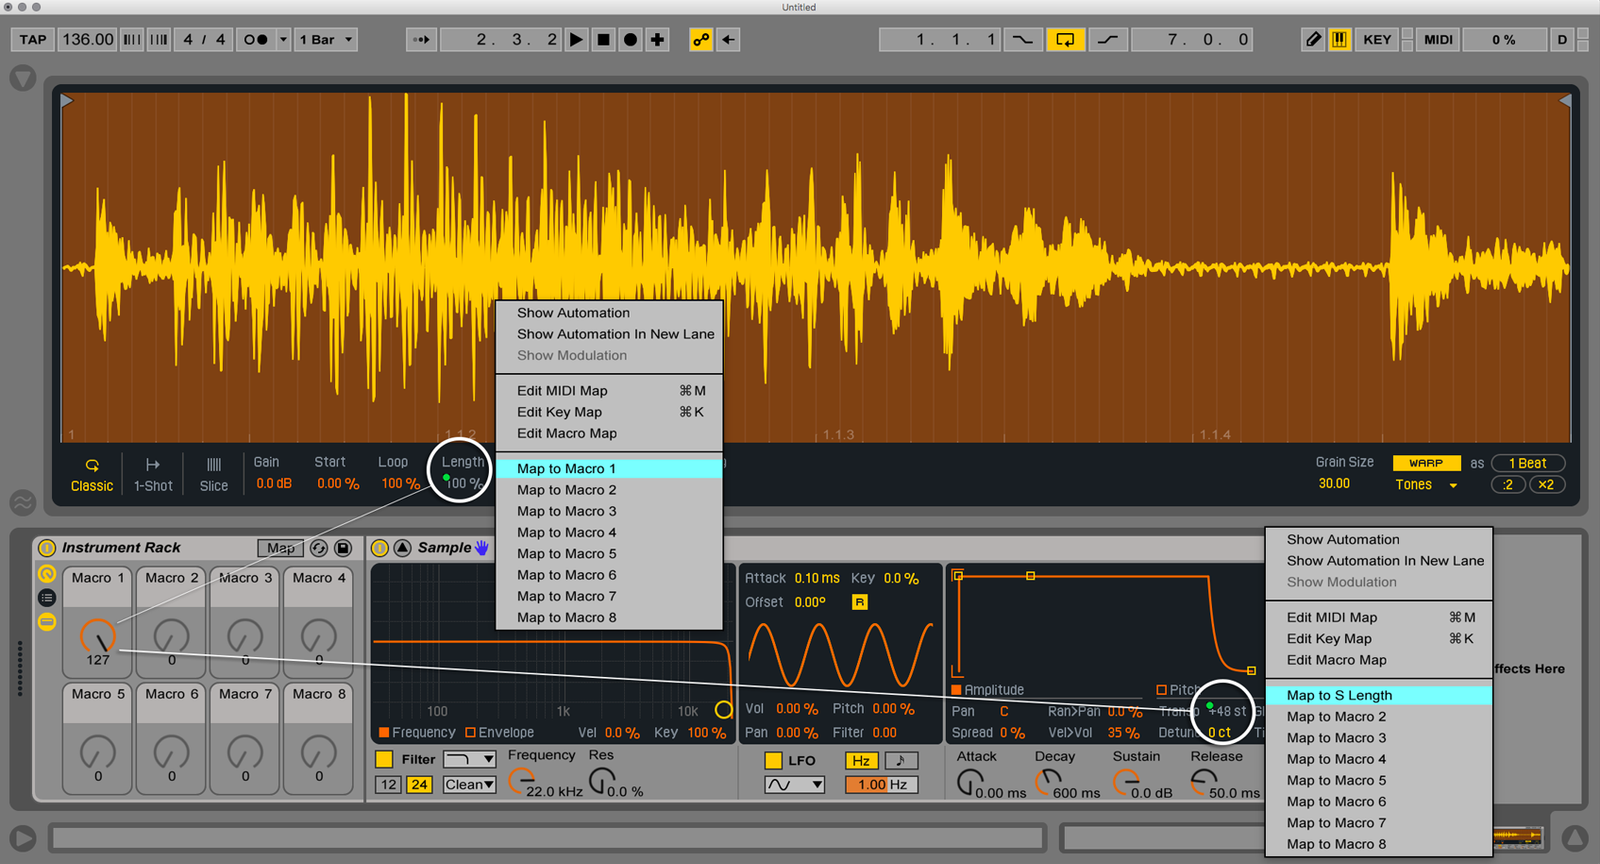
By default, it maps the maximum values of the parameters from left to right direction. It means that the maximum amount of the Macro knob (127) equal to 100% sample Length, and +48 semitones of Transpose. But we want quite the opposite, at 100% sample Length pitch should remain unchanged while reducing the Length should drop down the Pitch.
To do so, click on the “Map” button near to the Instrument Rack title, it opens the Macro Mapping window. Then right-click on the Transpose parameter and click “Invert Range”, set the maximum value at 0, and minimum up to your taste — I’ll set +36 semitones, which equally to 3 octaves.
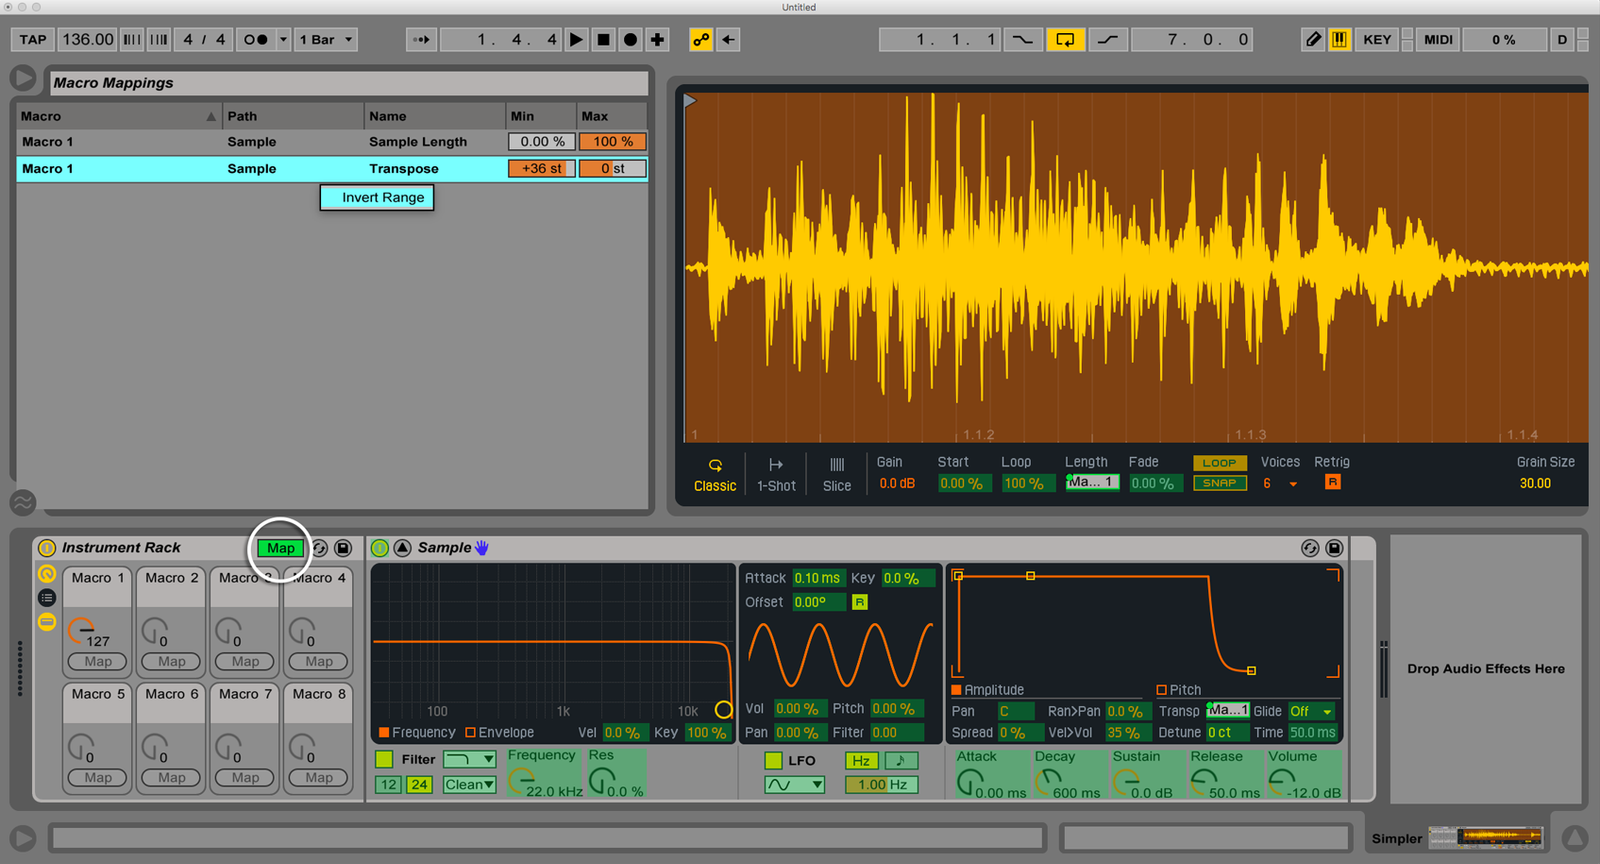
That’s it. Now just draw an automation curve of the Macro 1 parameter, and enjoy the result:
Dear readers, if you know more viable methods how to achieve the same result, feel free to post it in the comments below.

Great tutorial! Awesome that you circle the settings that you tweak.